Do you want to add a WordPress star rating to your website? In this guide, you will learn how to add a star rating system to WordPress.
A WordPress star rating system enables your website visitors to leave valuable feedback about your content, products, or services. Not only does it allow users to leave ratings and feedback, but if implemented correctly, it can also be beneficial to your overall SEO.
You may have noticed that various websites, from blogs to forums and communities, strive to encourage user feedback and generate engagement from their community by incorporating a star rating system. You can also do the same easily on your WordPress site using a star rating plugin.
By allowing your users to rate your posts, pages, or any other form of content, you can easily increase your users’ engagement and create a sense of community around your brand. These ratings will also enable you to quickly determine the type of content that resonates with your audience and what they dislike on your website so that you can make necessary improvements.
There are various WordPress star rating plugins out there, but in this guide, we will use the best WordPress star rating plugin, FeedbackWP.
Table of Contents
What is FeedbackWP?
FeedbackWP is the best WordPress star rating plugin that enables your website visitors to give ratings and feedback on your site.
FeedbackWP is quite simple to use. Once you install the plugin, you can add a WordPress start rating system to your site by toggle of a button. This plugin also supports the reviews structured data for Google-rich snippets, which means search engines like Google can show star ratings on search engine result pages. This can improve your search rankings and clickthrough rate.
FeedbackWP also supports custom post types and Woocommerce, which gives you a lot of flexibility when adding star ratings to your WordPress site. It also has a custom rating widgets feature enabling you to add a star rating anywhere on your site using shortcodes.
Let’s see how to add star ratings to your WordPress site using the FeedbackWP plugin.
How to Add a WordPress start rating to your website
This section will cover a step-by-step process of using FeedbackWP to add a star rating to your WordPress site.
1. Install and Activate FeedbackWP
Before adding a WordPress star rating system to your site, you must install and activate the FeedbackWP plugin. To access FeedbackWP, you need to purchase a license on the FeedbackWP website.
Once you purchase your license, you will receive an email containing the plugin zip file and your license key.
Download the plugin file, go to your WordPress admin dashboard, navigate to the Plugins page, click on the “Add New” button and click “Upload Plugin“.

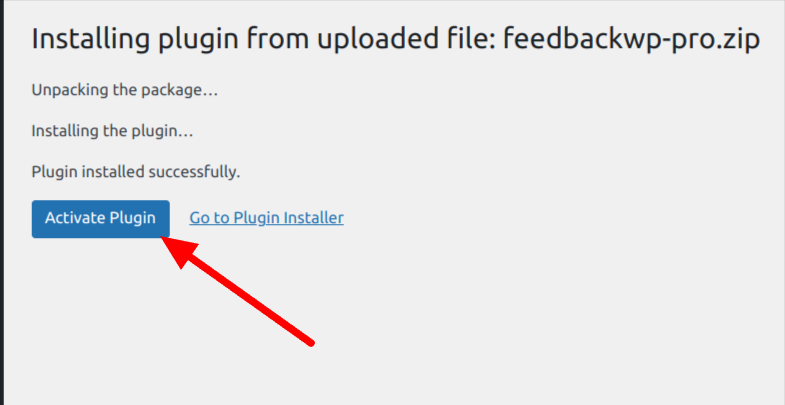
Next, click “Choose file” to select the downloaded plugin zip file and click “Install Now.”

After the installation is complete, click the “Activate Plugin” button.
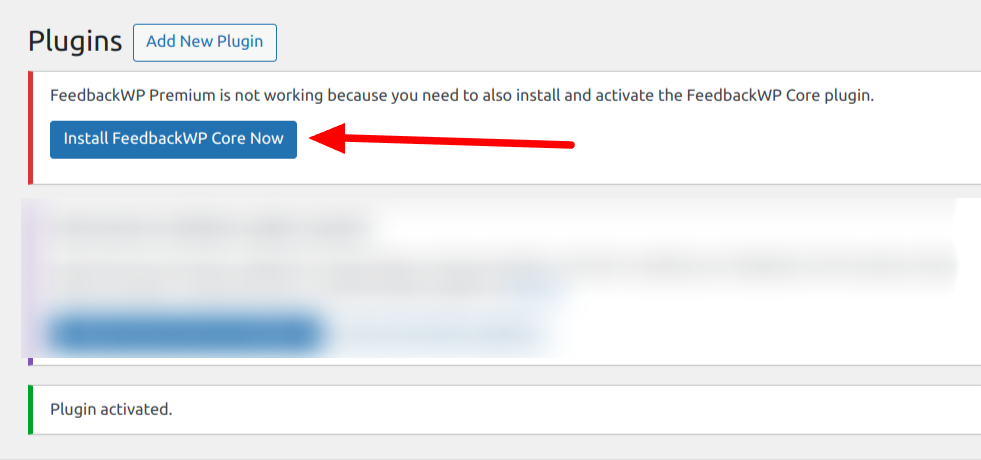
After activating FeedbackWP, you should see a notice that says, “Install FeedbackWP Core,” Click on the “Install FeedbackWP Core” button to complete the plugin installations.
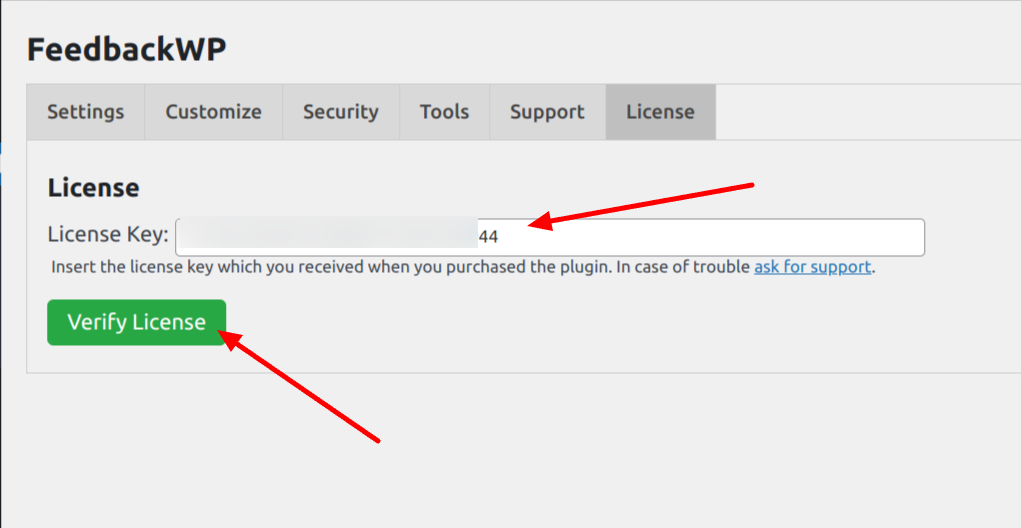
The next step is to activate your license. Click on the “activate your license key” notice or select License from the plugin settings page.

Copy the license key previously sent to your email and paste it into the box, then click the “Verify License” button.
With this done, you have completed the installation of the FeedbackWP plugin on your WordPress site.
2. Access FeedbackWP Settings
Now that FeedbackWP is installed and activated, the next thing is to access the settings page so that you can configure all the available settings options.
Navigate to FeedbackWP > Settings, located on the left menu sidebar. You will be presented with the configuration options shown below.
3. Configure FeedbackWP Plugin
Right now, you have reached the main settings page for FeedbackWP. You should see six tabs that you can review, but for this guide, we only need to focus on the first two tabs, “Settings” and “Customize.”
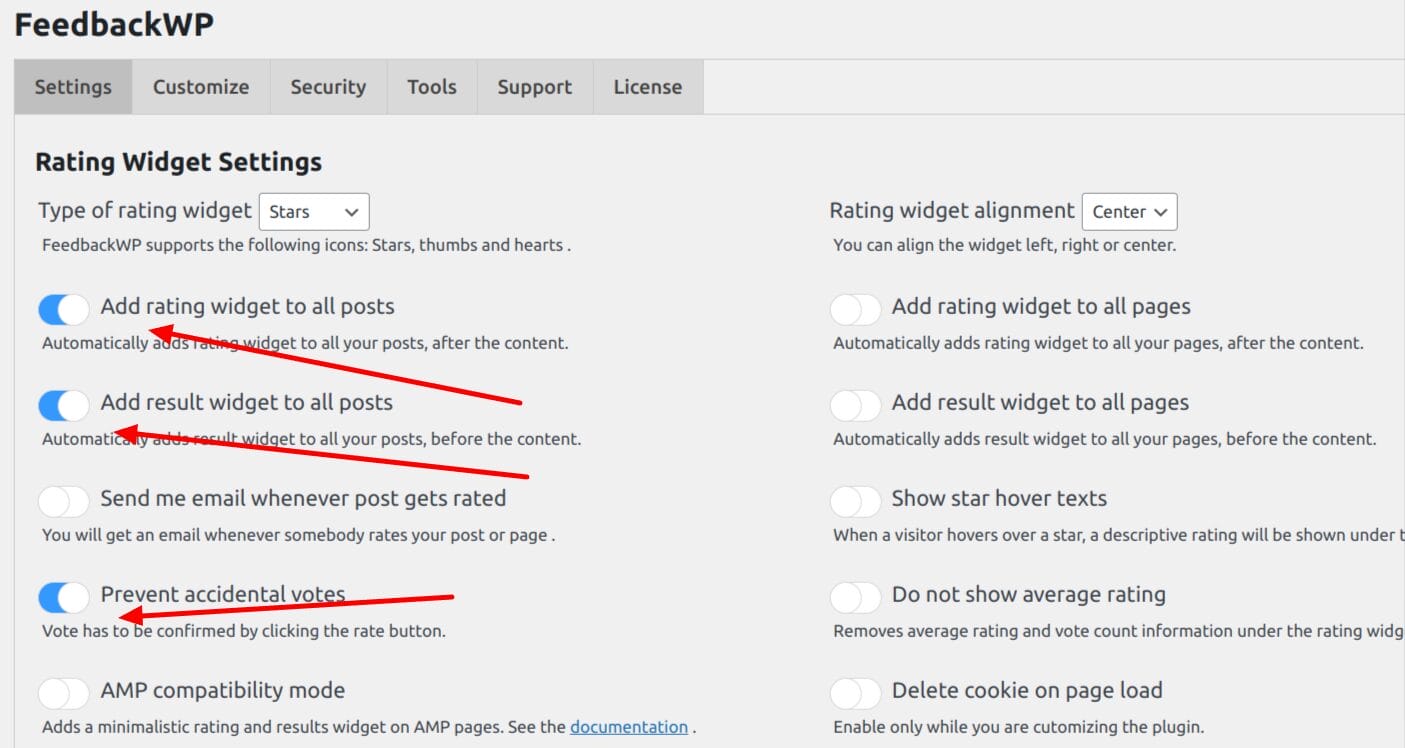
Under the Settings Tab, you will find the “Rating Widget Settings”. Enable the Add rating widget to all posts, Add result widget to all posts, and prevent accidental votes options as shown in the image below.
As you may have noticed, FeedbackWP has descriptive text below each option on the settings page. This helps you understand exactly what each setting does on your website.
If you would like to add a star rating to all pages on your website, there is an option in the right column that enables you to do that. You can toggle the buttons there, and a star rating will be added to your pages automatically.
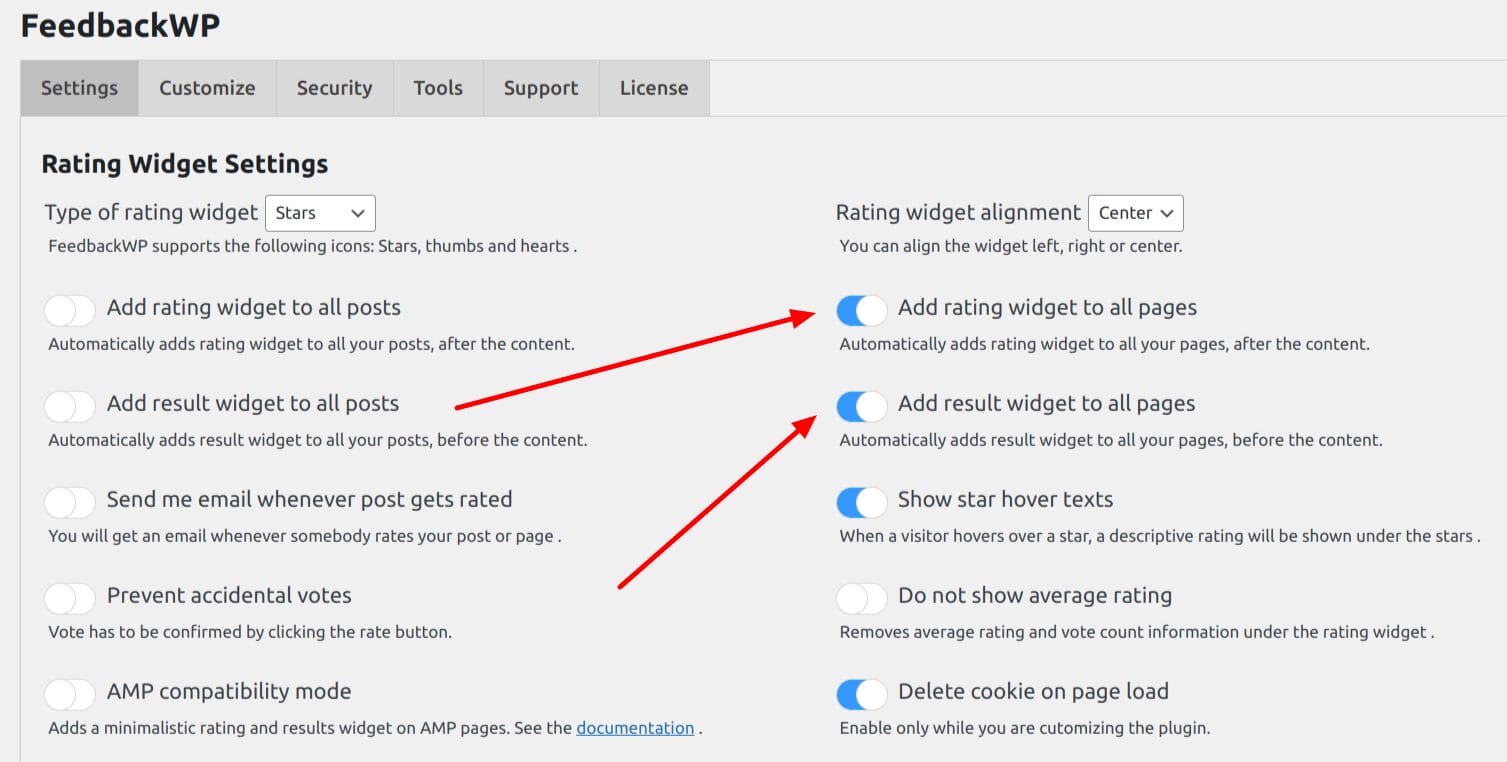
So far, we have enabled the option to automatically add a star-rating widget to all our WordPress articles, enabled the visibility of the results on each post, and also prevented accidental votes by requiring vote confirmation from our users. These enabled settings are enough to give us a reliable WordPress star rating system.
4. Customizing the Star Rating Widget
FeedbackWP comes with a customization panel that allows you to customize various aspects of the plugin.
From the settings page, click the “Customize” tab and scroll down to the “Strings – Rating Widget” section. This section allows you to customize the various display text in the WordPress star rating system.

You can customize the title, sub-title, result text, Submit button text, and more. If the default values do not work for you, feel free to modify them and save your changes.
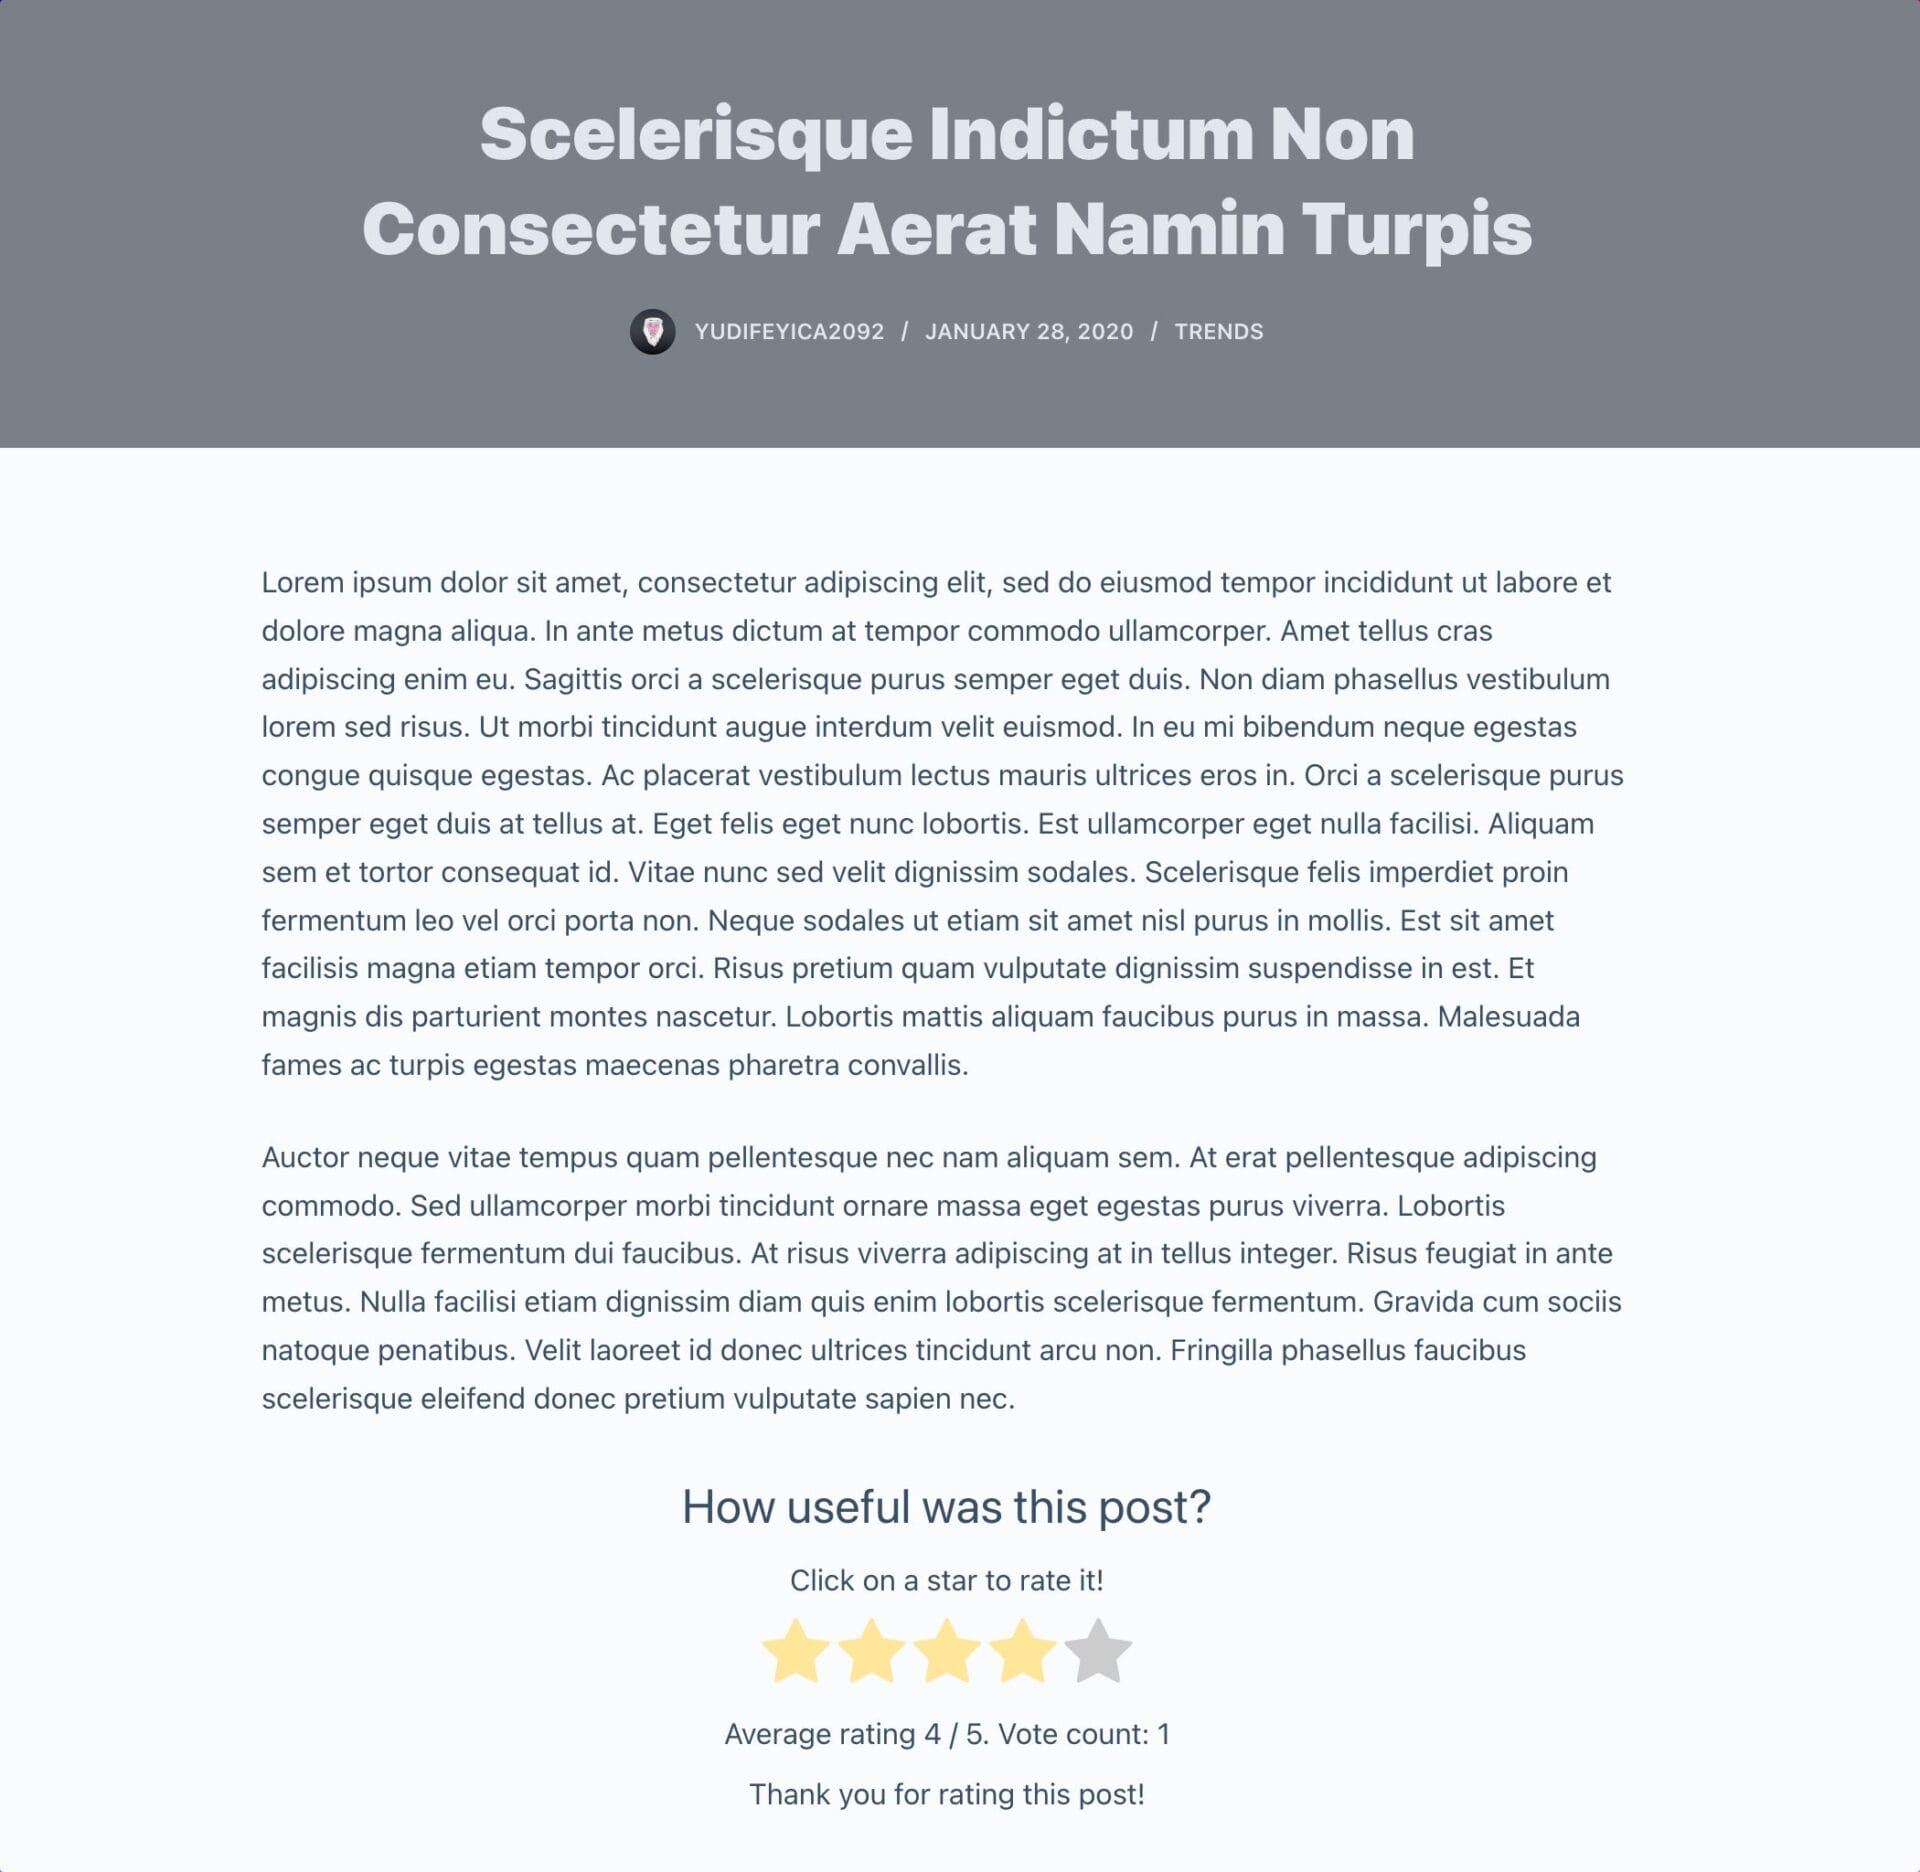
Next, Navigate to any article or post on your WordPress site, scroll to the end of the article, and you should see a rating system in place. Give the article a star rating and click the submit button.
5. Adding WordPress Star Rating with Shortcodes
FeedbackWP comes with a custom star rating feature that enables you to add star ratings anywhere on your website using shortcodes. So, if you do not want to enable star ratings globally, as shown in step 3 above, you can use the custom star rating shortcode to manually place star ratings on specific posts and pages where you need it.
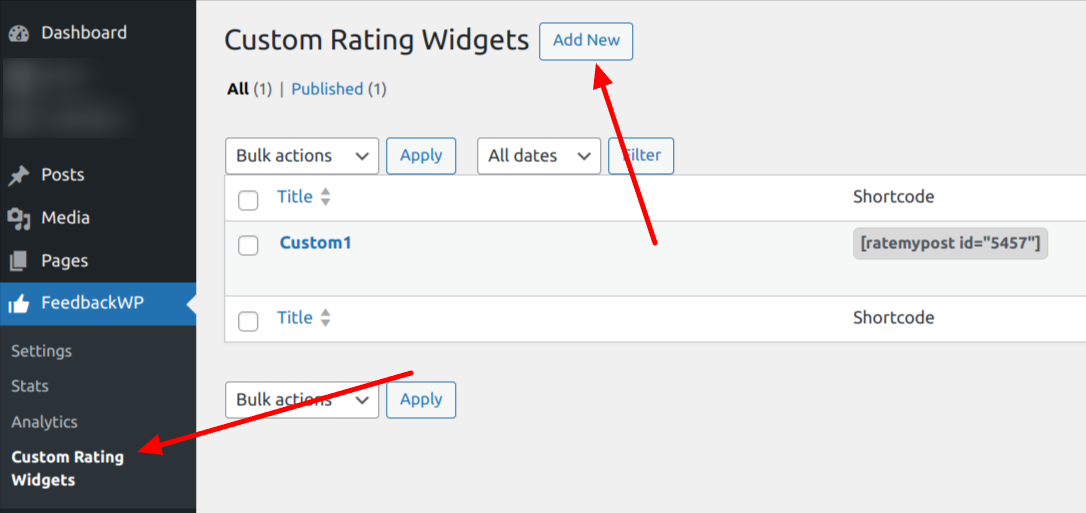
To get started, navigate to FeedbackWP >> Custom Rating Widgets. Click the Add New button and you will be redirected to the page for creating a custom shortcode.
On the shortcode creation page, enter a desired title, and scroll down to the FeedbackWP Customization panel. In this panel, you have three tabs where you can customize the schema, strings, and style.
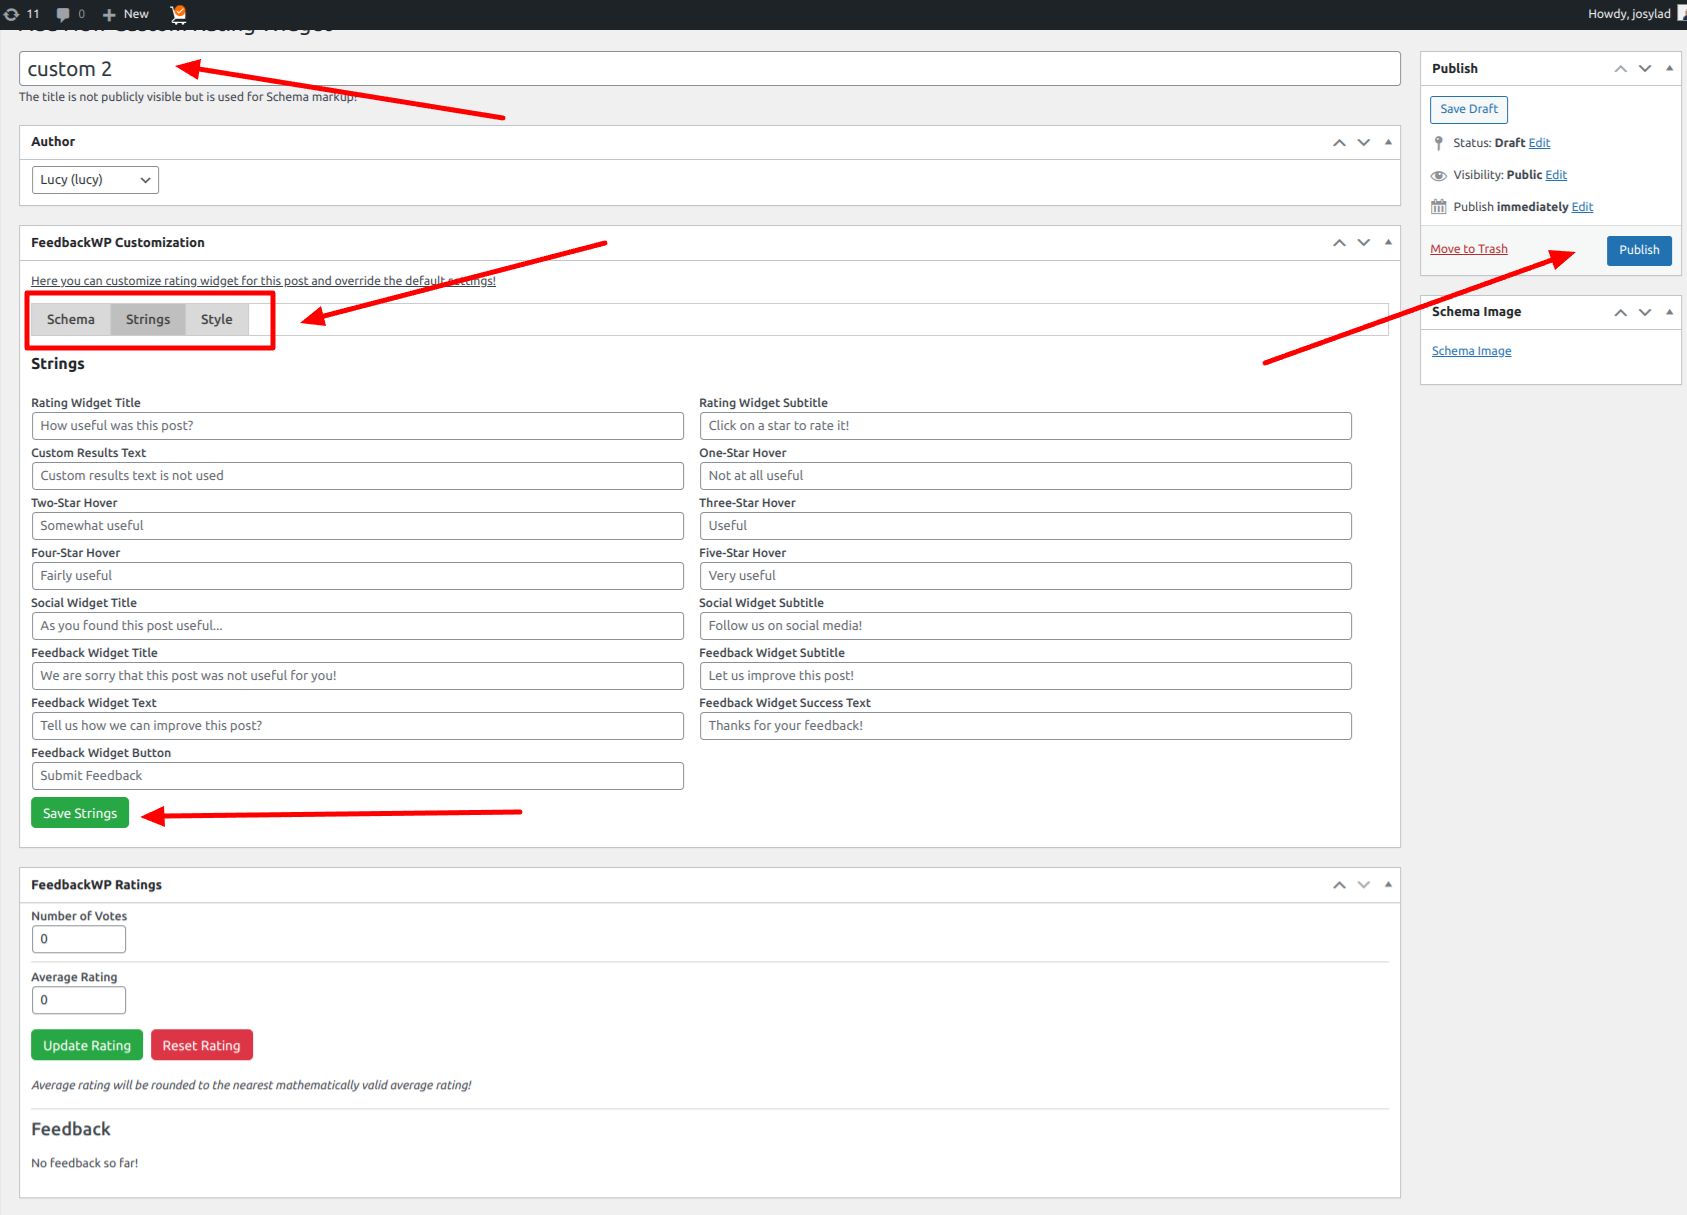
Adjust the star rating shortcode to your liking and click on the Save button. When you are satisfied with what you have, click the publish button to make this shortcode available on your website.
After publishing, navigate to FeedbackWP >> Custom Rating Widgets and you will see the newly created custom star rating widgets with their shortcodes.
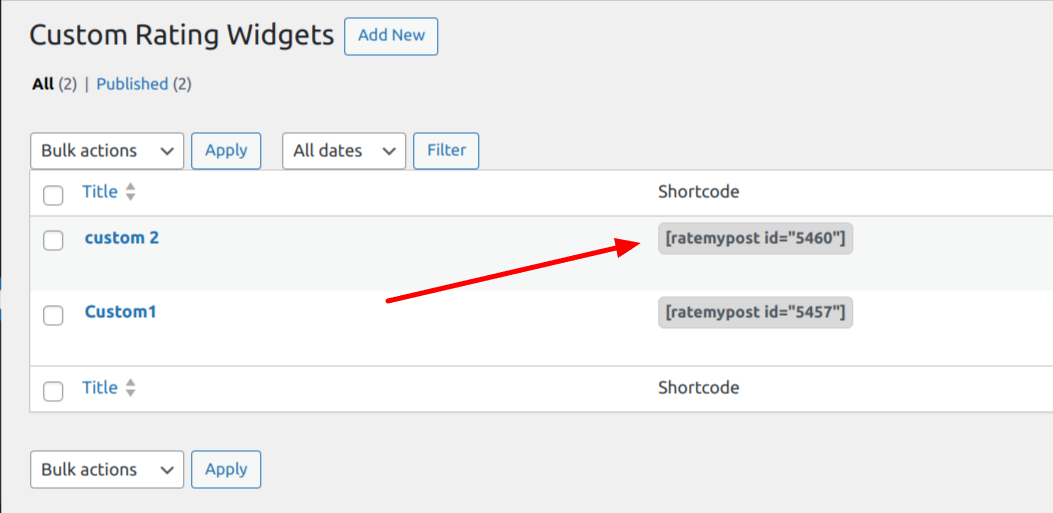
Copy this shortcode and place it anywhere in your posts or pages. A star rating will appear there.
Add Star Rating to Your WordPress Website Today
FeedbackWP provides a simple way for anyone to add a WordPress star rating to their website without any coding. With just the toggle of a button, you can add a robust star rating system to your WordPress site.
Using a star rating system provides numerous benefits for website owners. The most significant benefit is that it offers valuable insight into what your users like or dislike about your website. This information can help you make necessary changes and provide more of what your users enjoy.