Knowing what content your users like and dislike isn’t easy. You can look at your analytics, but that only tells you which content is popular. It tells you nothing about your users’ actual preferences.
Adding a star rating system to your WordPress website is an excellent way to gather feedback on your content and boost engagement on your blog.
Table of Contents
Why Should You Allow Users to Rate Posts on Your Site?
Engagement is the lifeblood of your blog. Without user interaction, your blog is dying, and you might not even realize it. Engagement can be as simple as rating a post, leaving a comment, or sharing your content on social media. All these actions are crucial for your blog’s success.
An easy way to enhance engagement is to incorporate a rating system into your posts. This will allow your readers to rate your content, providing valuable feedback on what they enjoy and don’t like about your website. Unlike other forms of engagement, rating a post is quick and straightforward. Your readers only need to click a button to rate your post.
The best part of adding a rating system to your blog is that it eliminates all guesswork from your content creation process. You’ll know exactly what your readers want more of and what they don’t like—no more reliance solely on gut feelings or analytics. You’ll have tangible data to guide your decisions.
How to Add a Rate Post Feature in WordPress
There are dozens of plugins that allow you to add a star rating system to your WordPress website. However, most are too complex or lack the essential features you need. The worst part is that most of them significantly slow down your site.
We developed FeedbackWP to solve this problem. Unlike other plugins, it doesn’t slow down your site. It includes everything necessary to add a rating system to your blog and maximize its benefits.
FeedbackWP is a user-friendly, lightweight plugin designed for beginners. You don’t need to be a developer to use it. The installation is straightforward and only takes a few minutes to configure.
Install and Activate FeedbackWP
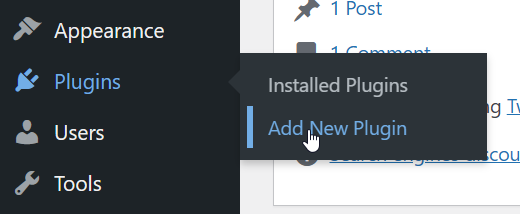
The first step is to install the Rate My Post by FeedbackWP plugin on your WordPress site. Log into your WordPress dashboard and navigate to the ‘Add New Plugin’ section:
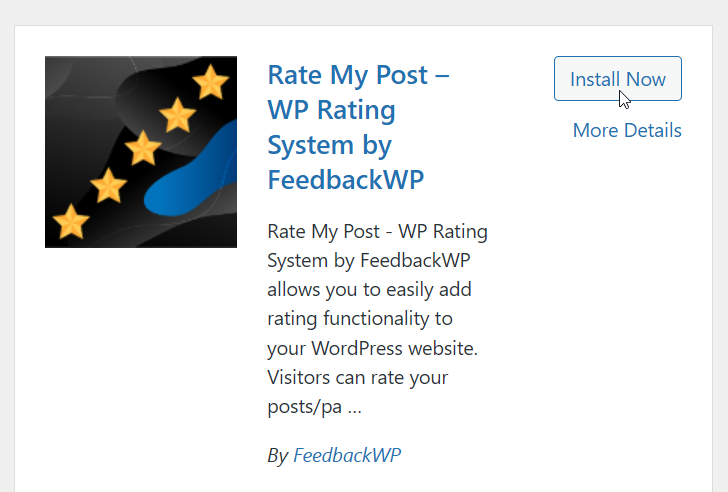
Search for ‘Rate My Post’ in the search bar:

Click ‘Install’ to begin the installation process:
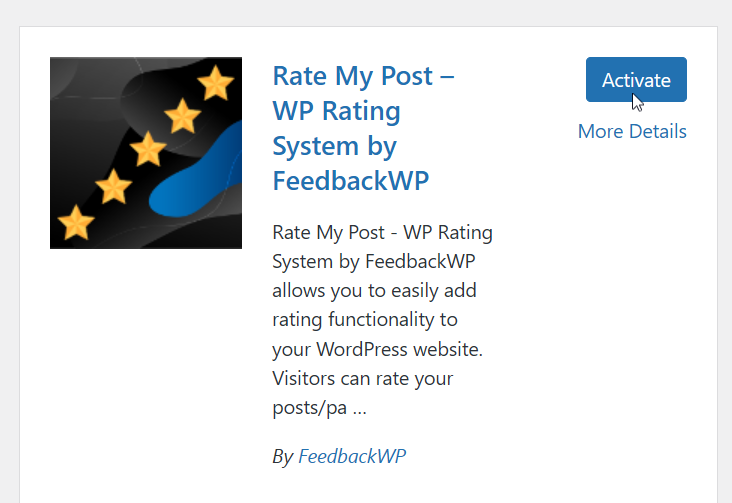
Once the installation is complete, click ‘Activate’ to activate the plugin:
Configure FeedbackWP – Rate My Post Plugin
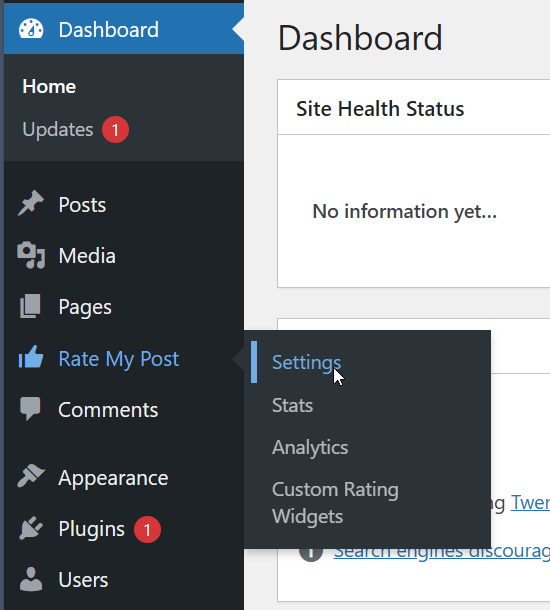
After installing the plugin, you need to configure it. To do this, navigate to the FeedbackWP settings page:
Here’s what the settings page looks like:
The settings page may seem daunting at first, but don’t worry. I’ll walk you through it, section by section.
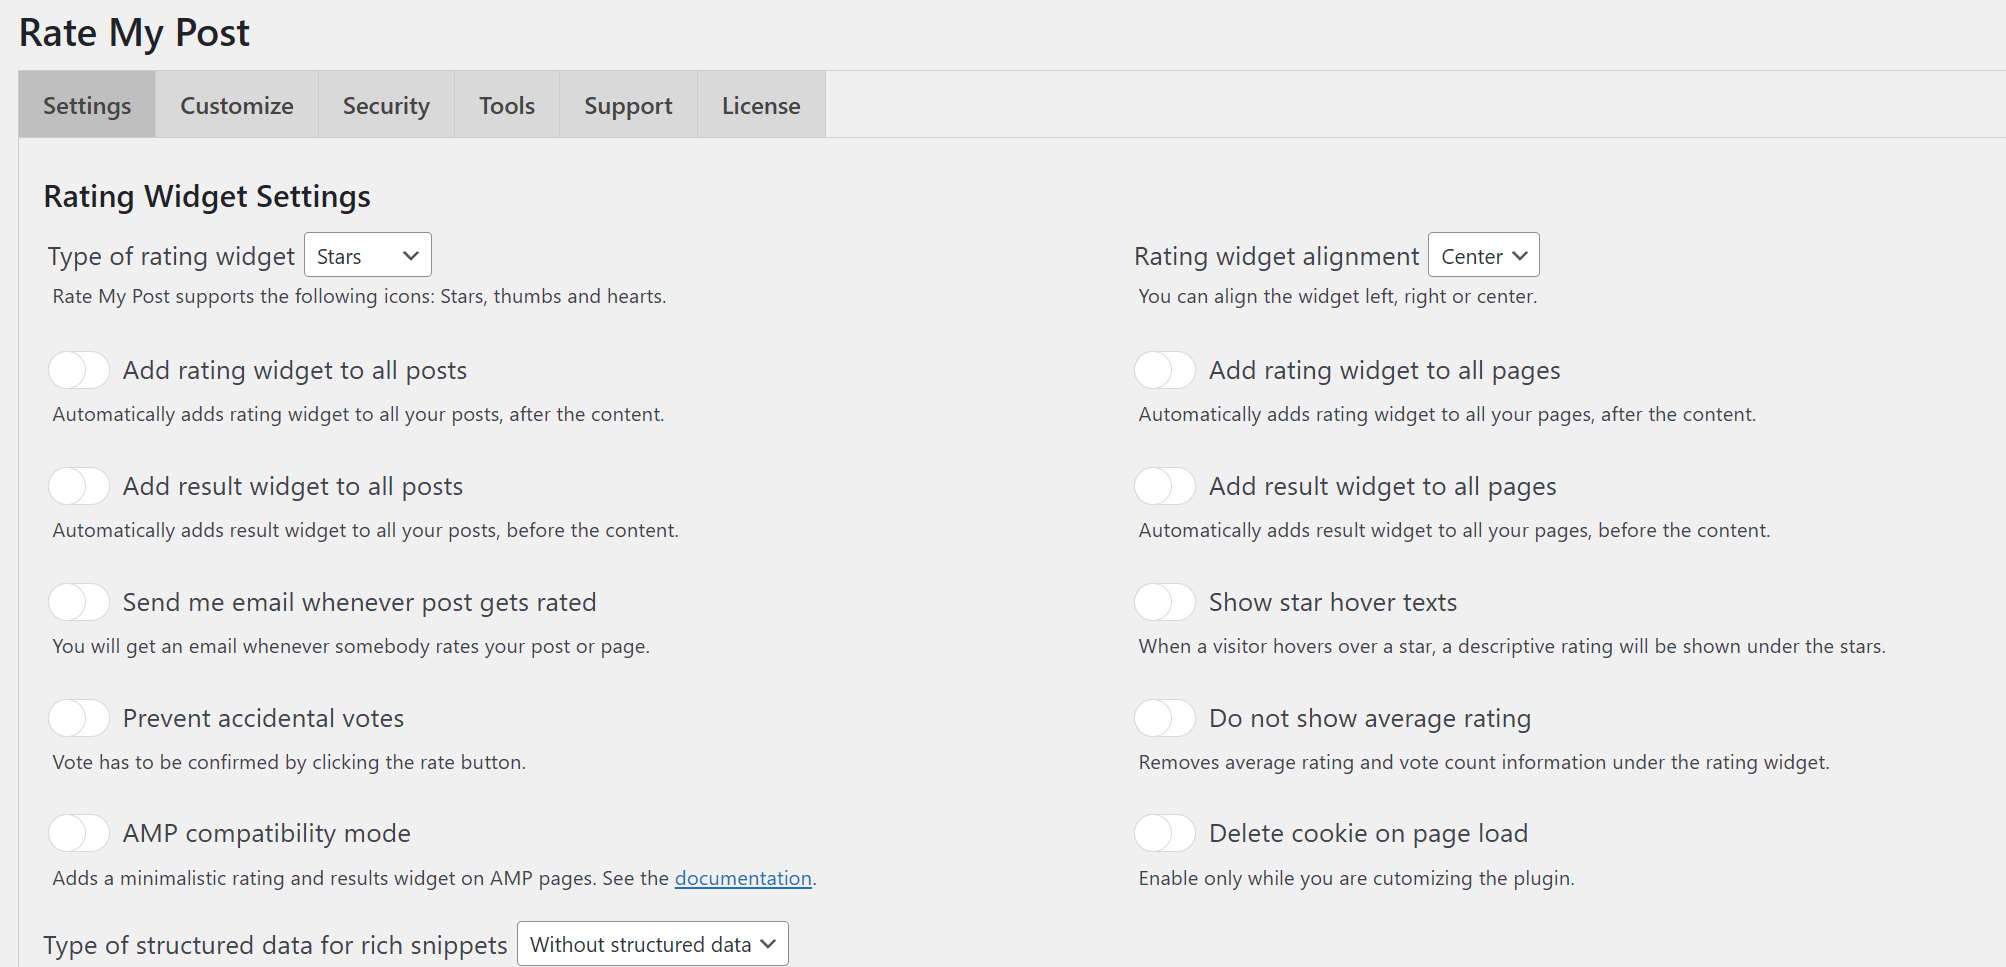
First, let’s explore the Rate Widget Settings section:
This section focuses on where and how the rating widget is displayed.
At the top, you can select the style and alignment of the rating widget:

The first option lets you choose the rating style. The default is Stars, but you can also select Thumbs, Smileys, Hearts, or Trophies.
The second option allows you to set the widget’s alignment. The default is Center, but Left or Right alignments are also available.
Next, you will find settings to control whether the rating and result widgets appear on all posts and pages:

To display the rating widget only on posts, check the first option. If you want to display a rating out of 5 at the top of every post, check the ‘Add result widget to all posts’ option.
You may prefer not to display the rating widget on certain pages, like your contact or about page. So you might not want to enable it for pages.
Pro Tip: If you’re short on time, enable the first option. You can always change the settings later. You don’t need to change any of the other settings on the settings page to get started.
Now, let’s explore the other options:

- Send me email whenever post gets rated: Enabling this option means you’ll receive an email every time someone rates a post on your site. This is useful for tracking your posts’ performance. However, if your site receives substantial traffic, this could quickly flood your inbox.
- Show star hover texts: This feature shows a text description for every star when the user takes their mouse over them. It helps explain the meaning of each star. The default descriptions range from ‘Not at all useful’ to ‘Very useful’, but you can customize these to your preference.
- Prevent accidental votes: Activating this option introduces an additional button that users must click after selecting a rating, helping to avoid unintentional ratings.
- Do not show average rating: By default, the rating widget displays an average rating and vote count underneath the stars.
- AMP compatibility mode: If your site has AMP pages, you can enable this option to display a minimal rating widget on AMP pages.
- Delete cookie on page load: This option isn’t typically needed unless you’re testing the plugin. It deletes the cookie that stores the user’s rating every time the page is loaded.
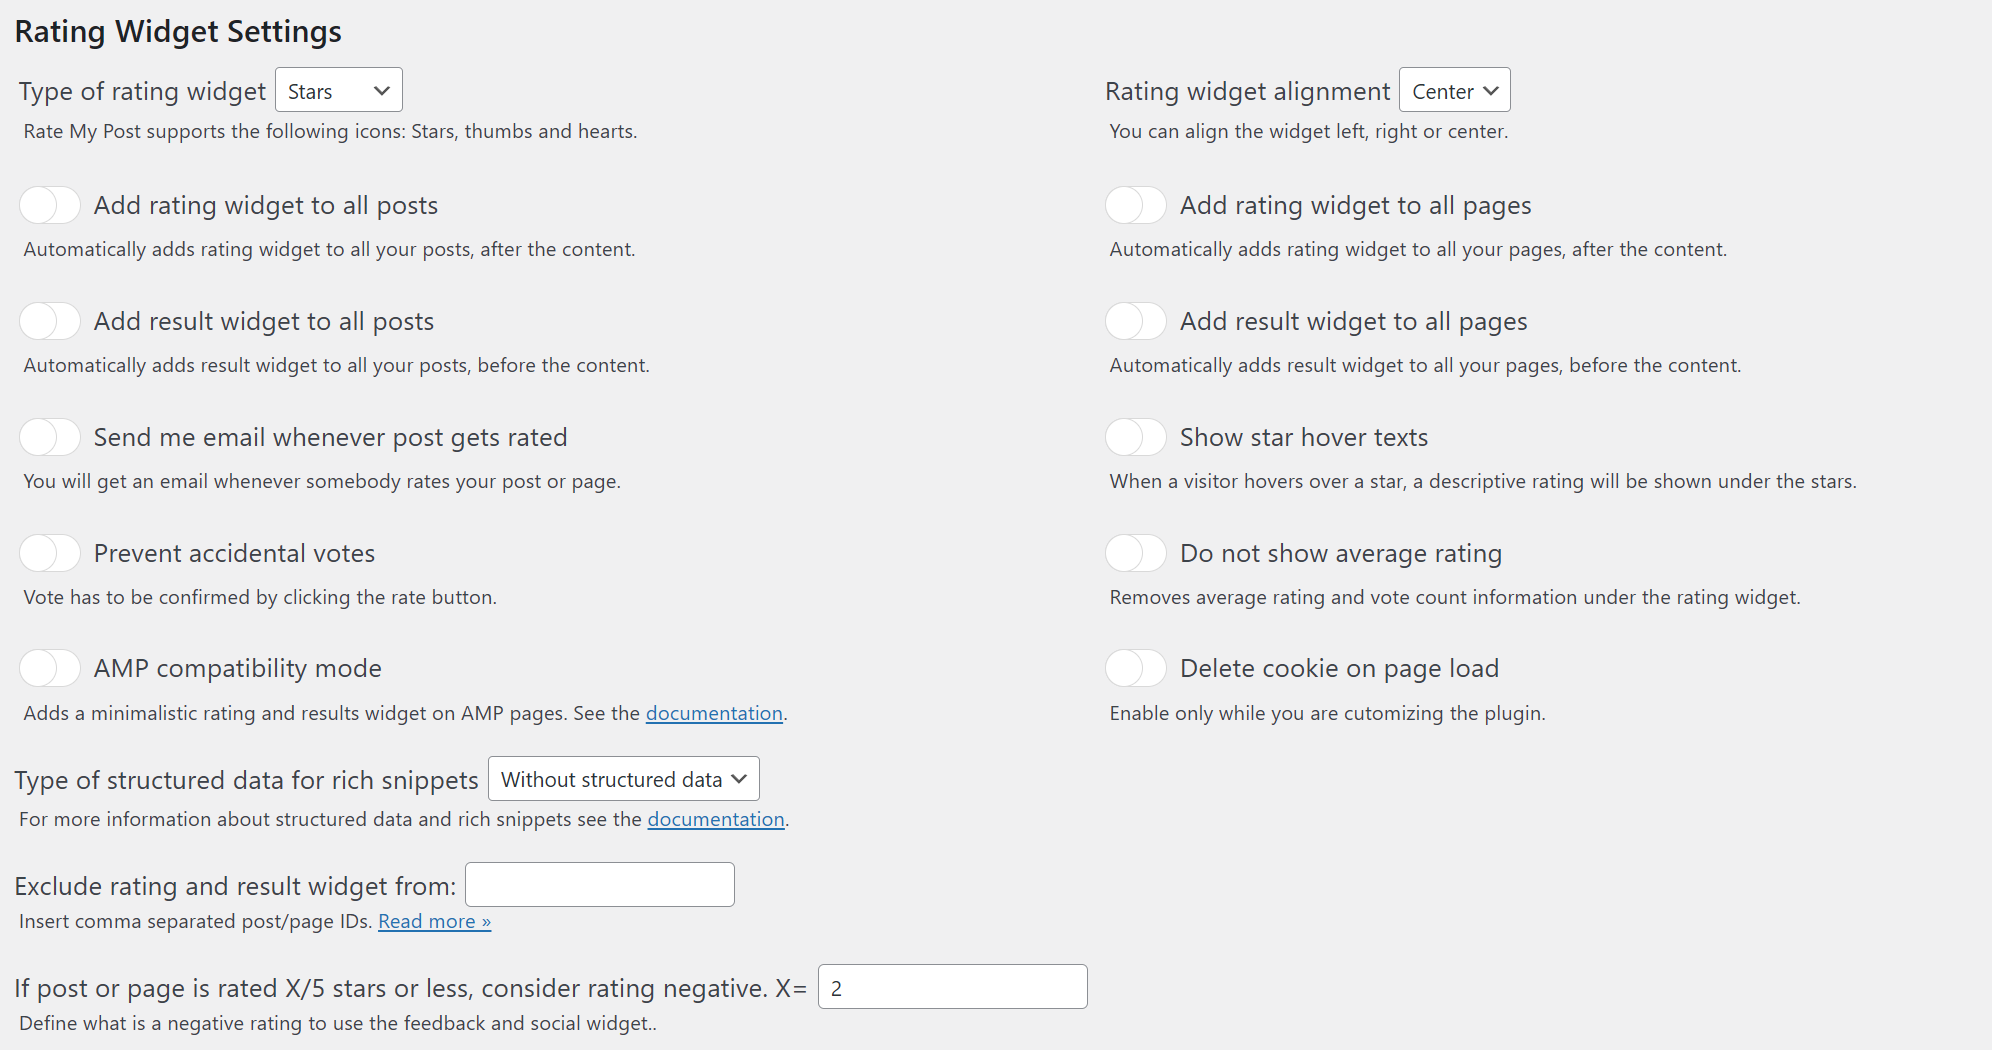
Now, let’s get to the advanced options. You can leave these options as they are unless you know what you’re doing:
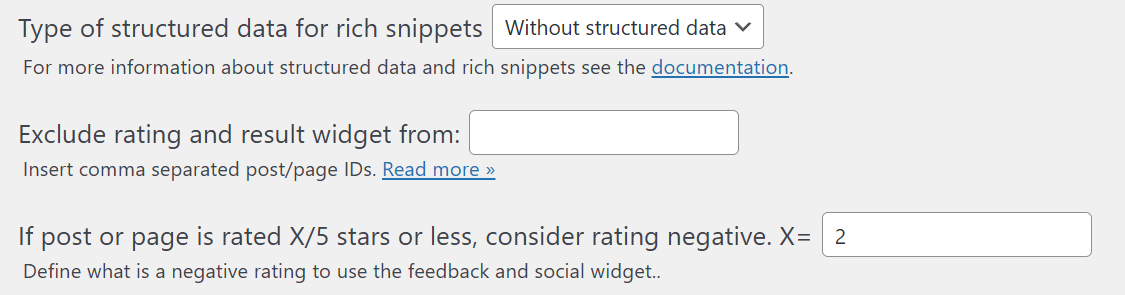
- Type of structured data for rich snippets: If the pages where the rating widget will be displayed are predominantly the same type, then you can choose a default structured data type for rich snippets. For instance, you can choose ‘Recipe’ if you mainly publish recipes.
- Exclude rating and result widget from: Enter a comma-separated list of IDs to prevent the rating and result widgets from appearing on specific posts and pages.
- If post or page is rated X/5 stars or less, consider rating negative. X= The value you enter in this field determines the threshold for a positive or negative rating. For example, entering 3 means any rating of 3 stars or below will be considered negative.
Just below the advanced options, you’ll see the Feedback Widget Settings:

- Show feedback widget if rating is negative: This feature displays a feedback form that allows users to leave feedback if they rate a post negatively. It’s valuable for gathering feedback on what readers disliked about your post.
- Send me email whenever feedback is left: Activating this option ensures you receive an email whenever someone leaves feedback on your site.
Following this is the Social Widget Settings section:

- Show social widget if rating is positive: This option displays social follow links if the rating is positive, which can help increase your social media following.
- Show social share links: If you prefer to display social share links, enable this option.
The Custom Post Types section gives you finer control over what custom post types to display the rating and results widgets on:
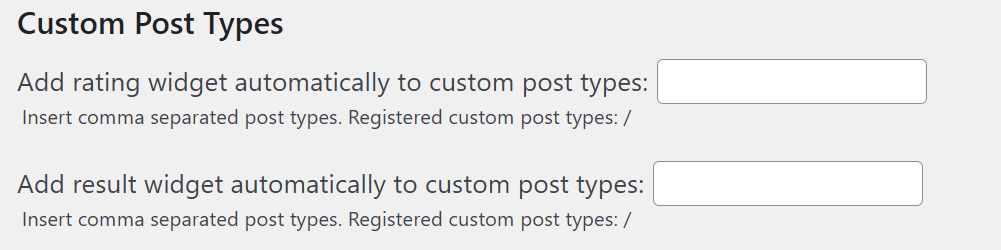
- Add rating widget automatically to custom post types: A comma-separated list of custom post types to add the rating widget to.
- Add result widget automatically to custom post types: A comma-separated list of custom post types to add the result widget to.
You’ll see a list of all registered post types that are available under these fields.
The next section deals with Archive pages:

Only enable this option if you want to display the rating widget on the archive pages of your blog. These are pages that display a list of posts, such as your blog page, category pages, etc.
The final section deals with advanced settings:

You should leave these options as they are unless you know what you’re doing.
- Multilingual website compatibility mode: If your site is multilingual, you will want to enable this option.
- Delete all plugin data on uninstall: Better leave this option disabled unless you want to delete all plugin data when you uninstall the plugin.
- AJAX load results: If you are using a caching plugin, you should enable this option if the rating widget is not updating after a user rates a post. This shouldn’t happen with most of the popular caching plugins, including WP Super Cache, WP Rocket, etc.
- Disable clear cache: By default, the post cache is cleared on every vote submission.
Customize the Rating Widget
The Customize Tab lets you personalize the rating widget:
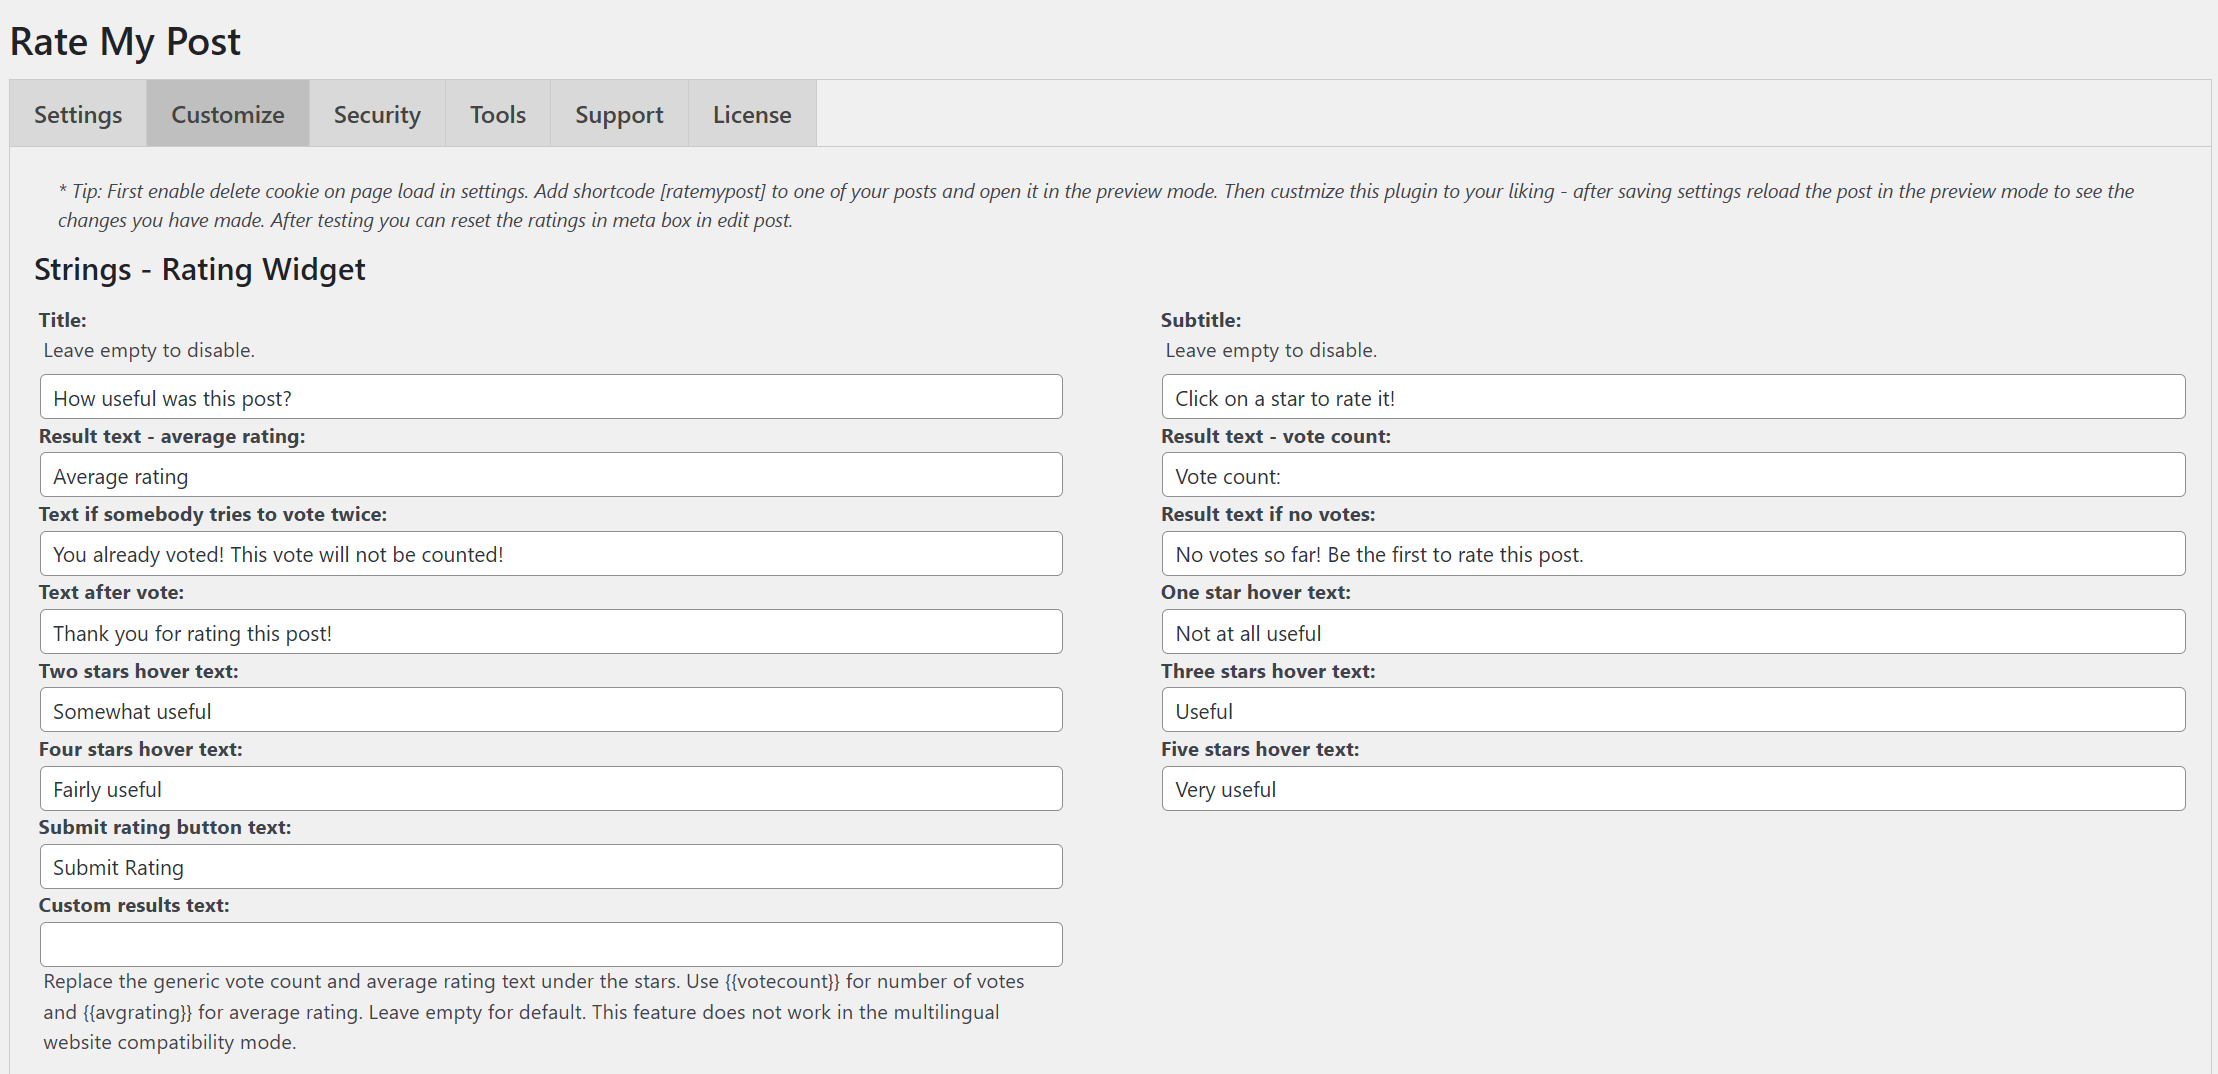
In the first section of this tab, you can modify the text of the rating widget. You can customize all the strings that are displayed on the rating widget. You can also customize the default rating descriptions that are displayed when the user hovers over the stars.
You can leave all these strings as they are. Most users won’t need to change them.
The next section deals with the strings related to the Social Widget:

You can only customize the Title and Subtitle of the Social Widget.
Next comes the strings related to the Feedback Widget:

You can customize the Title, Subtitle, Placeholder of the Feedback Widget, text of the Submit button, and the text of the Thank You message.
The final section allows you to customize the colors and font sizes:
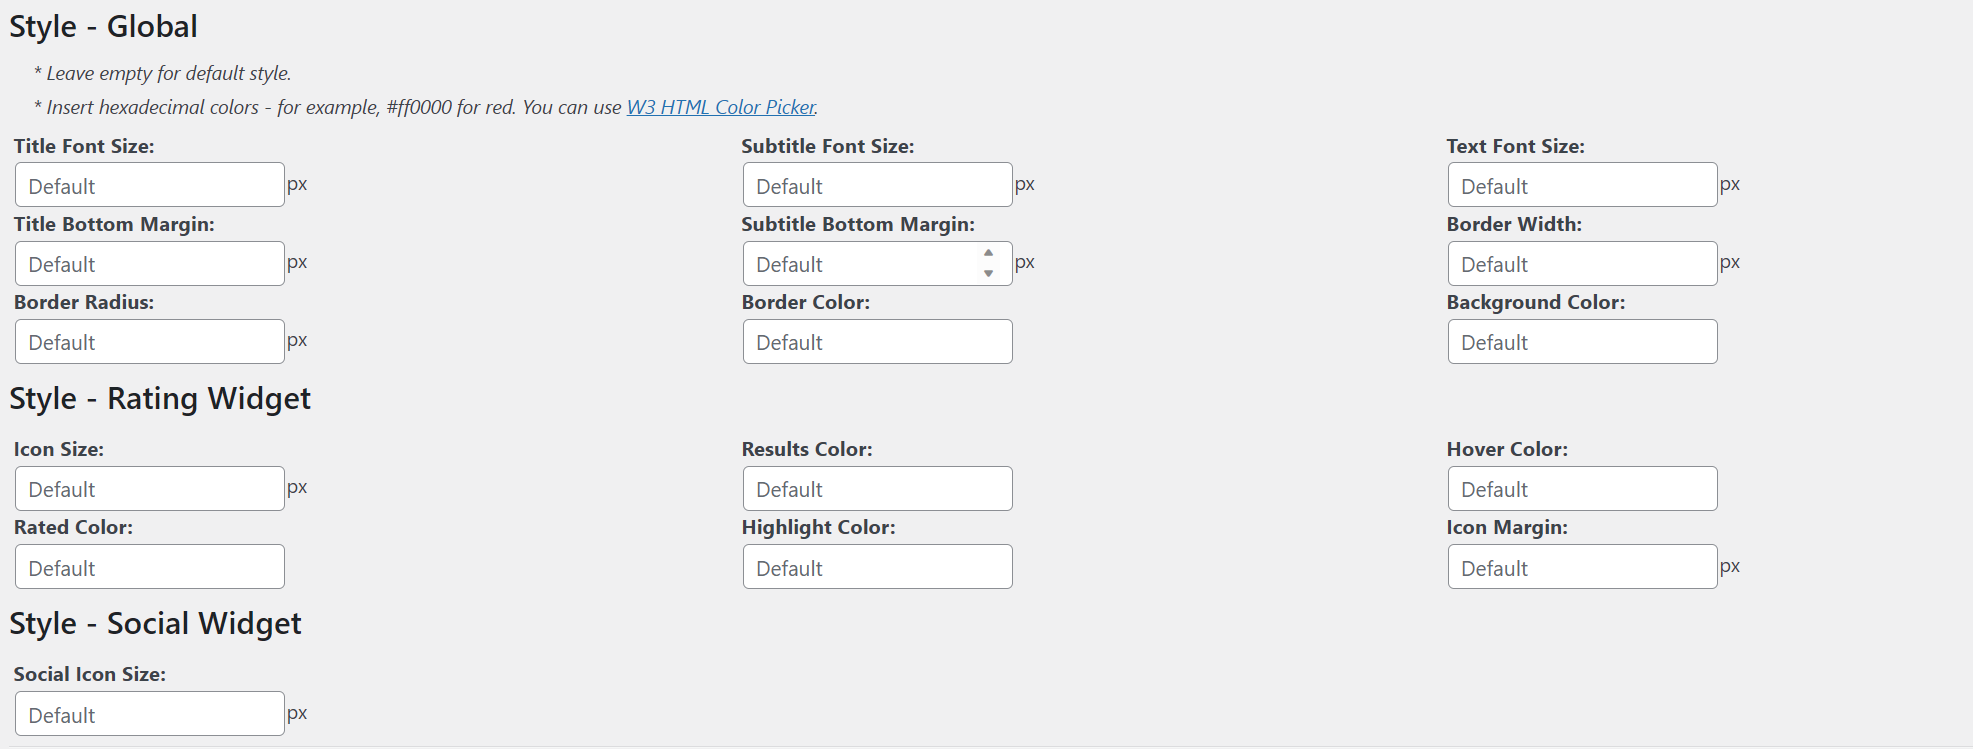
You should only change these settings if the widgets don’t match the design of your site. Otherwise, you can just leave them as they are.
Configure The Security Settings
The Security tab lets you adjust the security settings:
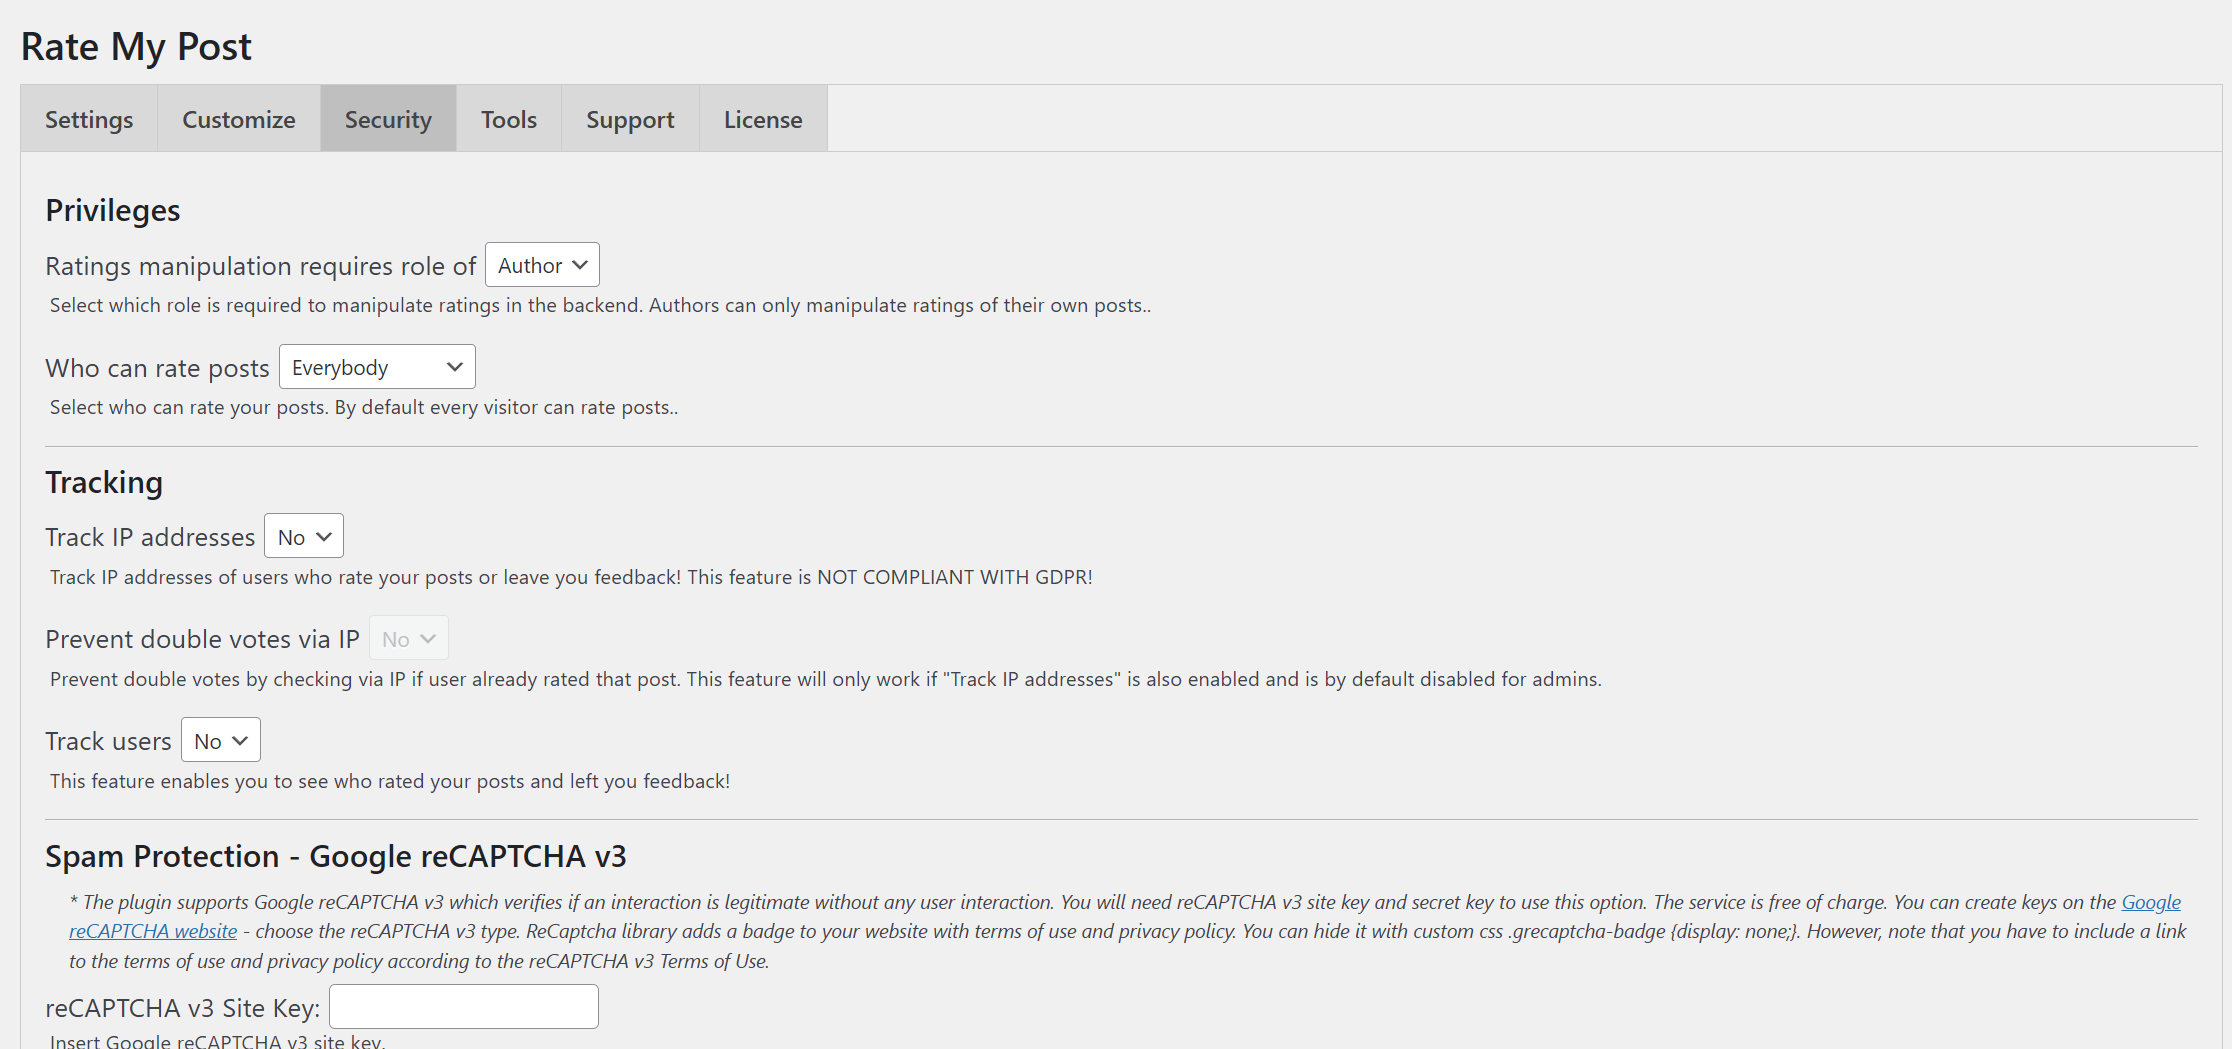
The first section of this tab allows you to choose who can rate your posts:

You can choose the minimum user role that is required to manipulate the ratings of individual posts. The default is Author. This means that all authors can manually change the ratings of their posts.
You can also select who is allowed to leave ratings on posts. By default, this is everyone. But you can also choose to allow only logged-in users to rate posts. This is useful if you are running a membership site and only want to allow your members to rate posts.
The next section deals with tracking:
Here’s what the options mean:
- Track IP addresses: If enabled, the IP address of the user will be stored in the database. This is useful if you want to prevent users from rating the same post multiple times.
- Prevent double votes via IP: If enabled, users will not be able to rate the same post multiple times from the same IP address.
- Track users: If enabled, this feature will allow you to see who rated your posts.
These tracking options are typically disabled by default due to GDPR compliance concerns. Most websites won’t need to activate them.
The next section gives you an easy option to deal with spam:
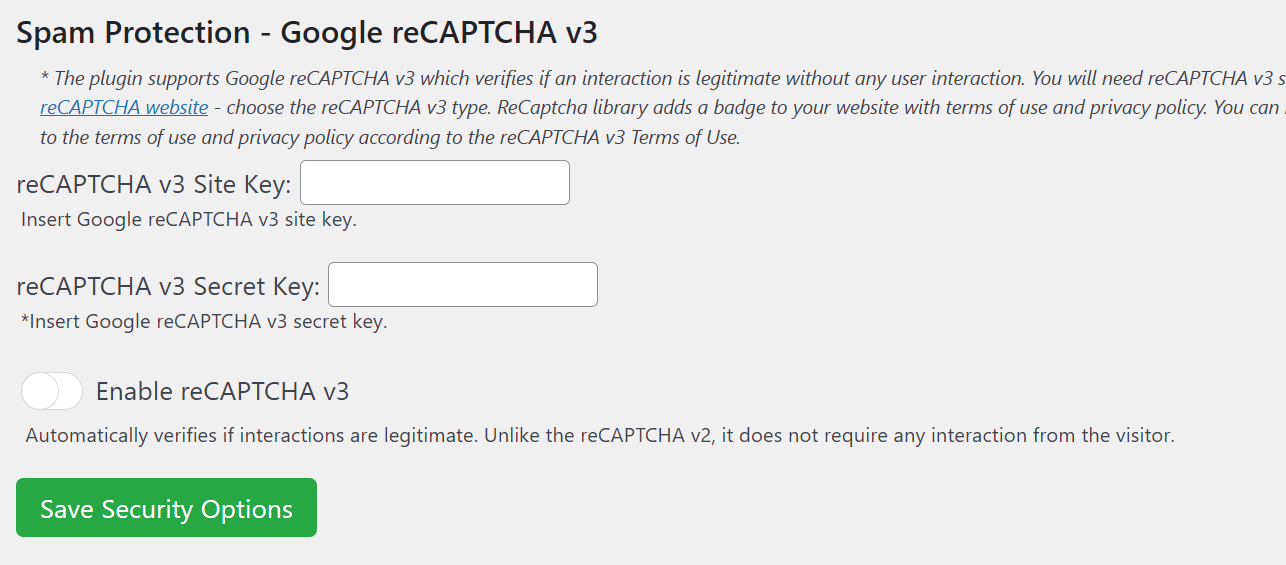
If you get a lot of spam, you’ll want to enable this setting. It will display a Google reCAPTCHA on the rating widget. This will prevent bots from rating your posts.
If you aren’t familiar with acquiring a key and secret for reCAPTCHA, follow the instructions in the documentation.
Customize The Ratings on Individual Posts
Once you’ve installed the plugin, you’ll notice a new meta box in the post editor:
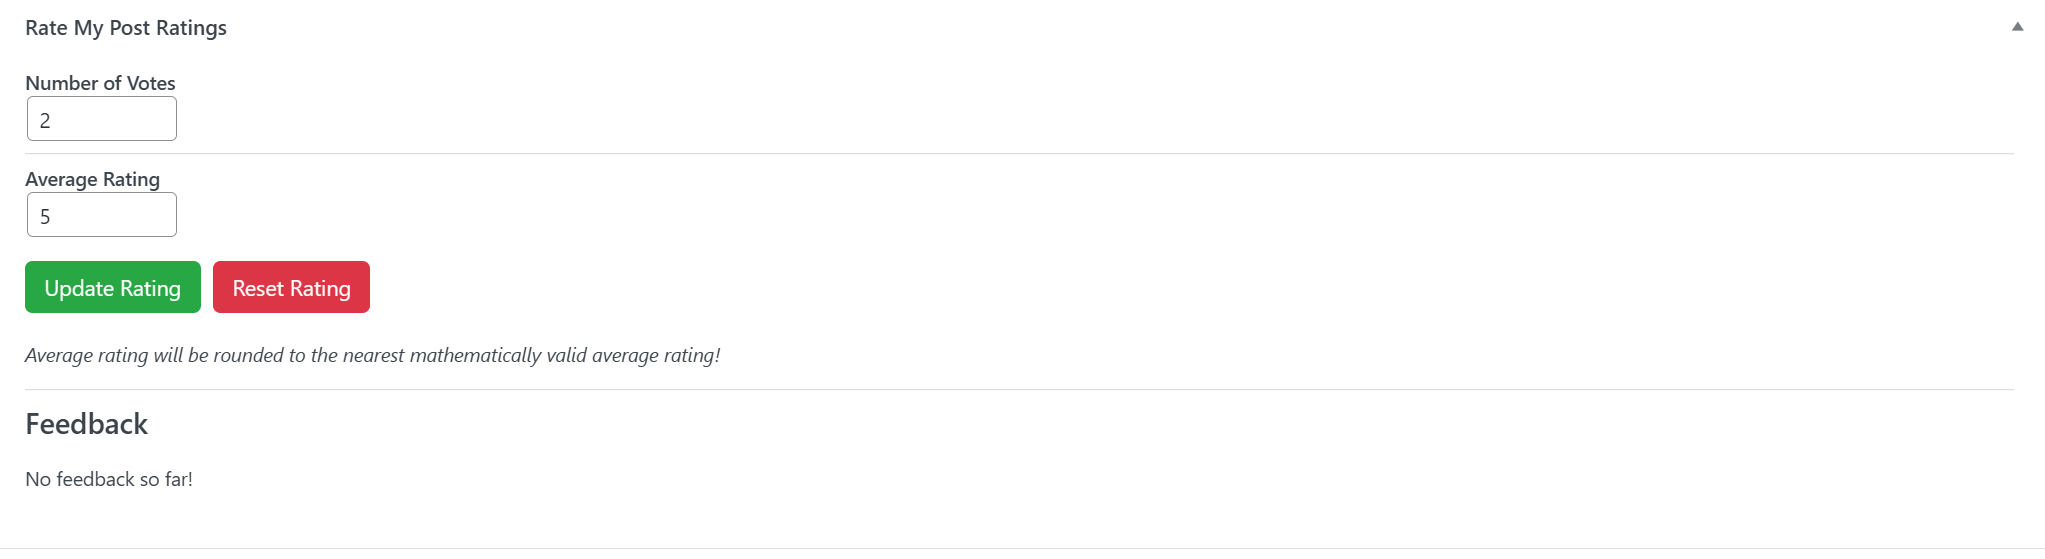
The most important part of this meta box is at the top. The first two fields allow you to manipulate the ratings manually. You can choose what average rating to display and the vote count for this post.
Right after that, you will see any feedback that the users might have left if you have the Feedback Widget enabled.
Add Star Rating of Posts to WordPress Today
Enabling your website users to rate your posts is a straightforward way to enhance engagement. It takes just a few minutes to set up and can offer invaluable feedback on what your readers like and dislike about your content.
If you don’t have a star rating system on your WordPress website yet, you should give FeedbackWP a try. It’s easy to set up, and it won’t slow down your site.