Do you want to receive feedback on your WordPress articles? Are you interested in knowing if your readers are satisfied with your content?
Getting readers’ feedback is one of the best ways to gain proper insight into how your content is performing. I know you have various analytics and trackers set up on your website. Still, these analytics tools will only show you the numbers, which do not necessarily inform you whether your readers are satisfied or not.
Your analytics numbers could show a low bounce rate, zero comments, or zero purchases, but these numbers do not reflect the minds of your readers. With a feedback form in WordPress, you can access your readers’ minds and get an honest review of your website articles.
In this article, we will learn how to easily get feedback on your articles in WordPress and why you should collect it.
Why You Should Collect Feedback on Your Articles
Collecting feedback from your readers allows you to better understand what they like and don’t like about your content. The feedback you get will help you improve the quality of your content and create new content that meets your readers’ needs.
Having a feedback system can also help build trust and increase engagement on your website, as users feel they can have their voices heard.
How to Receive Feedback on Your Articles in WordPress
There are numerous methods for getting feedback on your WordPress articles, but in this guide, we will focus on the easiest option: the FeedbackWP WordPress plugin.
Using the FeedbackWP WordPress plugin, you can quickly set up a system that allows your readers to easily give feedback on the usefulness of your content to them.
The plugin allows you to include stars, thumbs, Smileys, trophies, and hearts rating system at the end of your WordPress posts, which visitors can use to rate your articles. It also supports structured data for rich snippets, which can improve your website’s SERP appearance.
Without much ado, let’s get into setting up the feedback system for our WordPress articles.
1. Install and Activate FeedbackWP
The first step in this process is to install and activate the FeedbackWP plugin. To get access to FeedbackWP, you need to purchase a license.
Once you purchase your license, you will receive a mail containing the plugin and your license key.
After downloading the plugin, go to your WordPress admin dashboard, navigate to the Plugins page, click the “Add New” button and click “Upload Plugin“.

Next, click “Choose file” to select the downloaded plugin zip file and click “Install Now.”

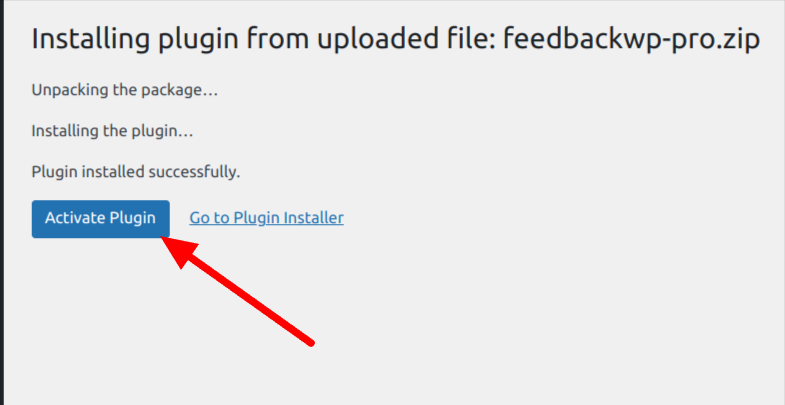
After the installation is complete, click the “Activate Plugin” button.
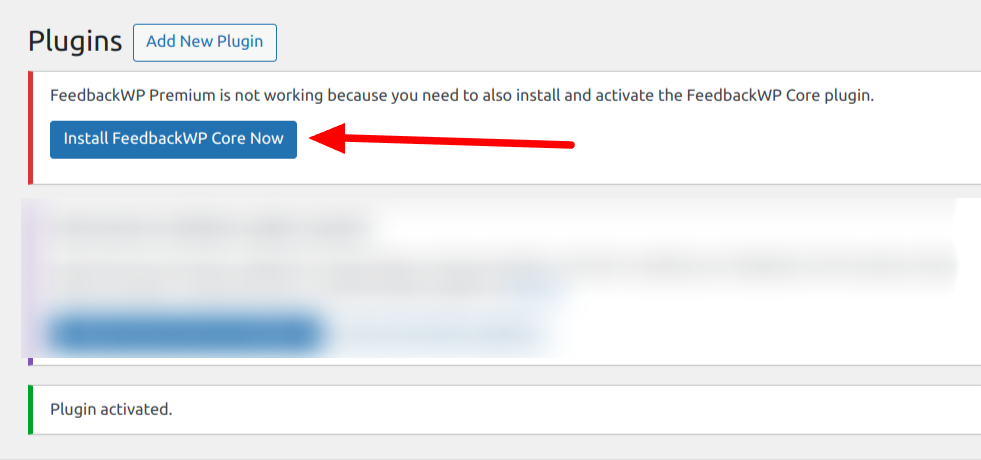
After activating FeedbackWP, you should see a notice that says, “Install FeedbackWP Core,” Click on the “Install FeedbackWP Core” button to complete the plugin installations.
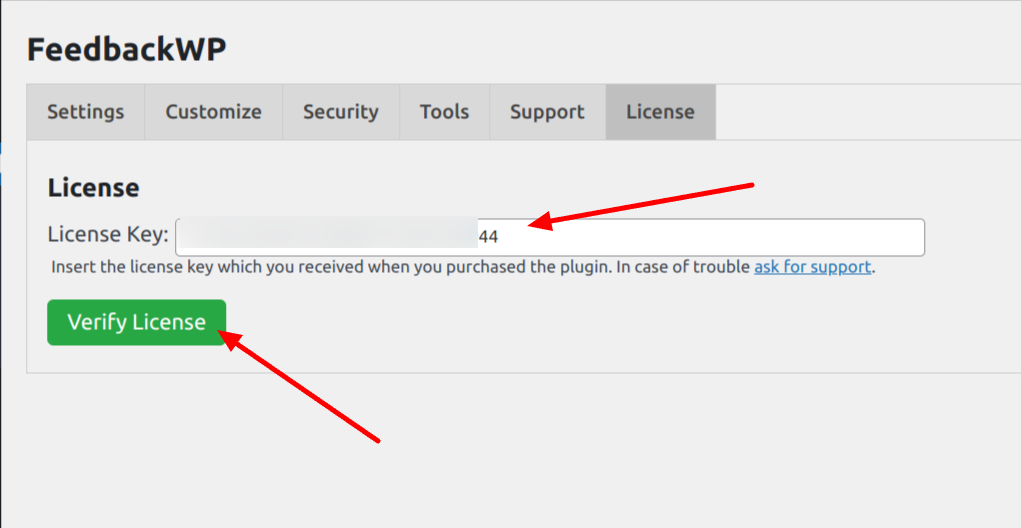
The next step is to activate your license. Click on the “activate your license key” notice or select License from the plugin settings page.

Copy the license key previously sent to your email and paste it into the box, then click the “Verify License” button.
With this done, you have completed the installation of the FeedbackWP plugin on your WordPress site.
2. Configure FeedbackWP Settings
The next thing you need to do is set up the FeedbackWP plugin to work according to your preference. For this guide, we will only cover the most important settings that you need to configure to start getting feedback on your website.
Navigate to FeedbackWP > Settings, and you will be presented with the configuration options below.
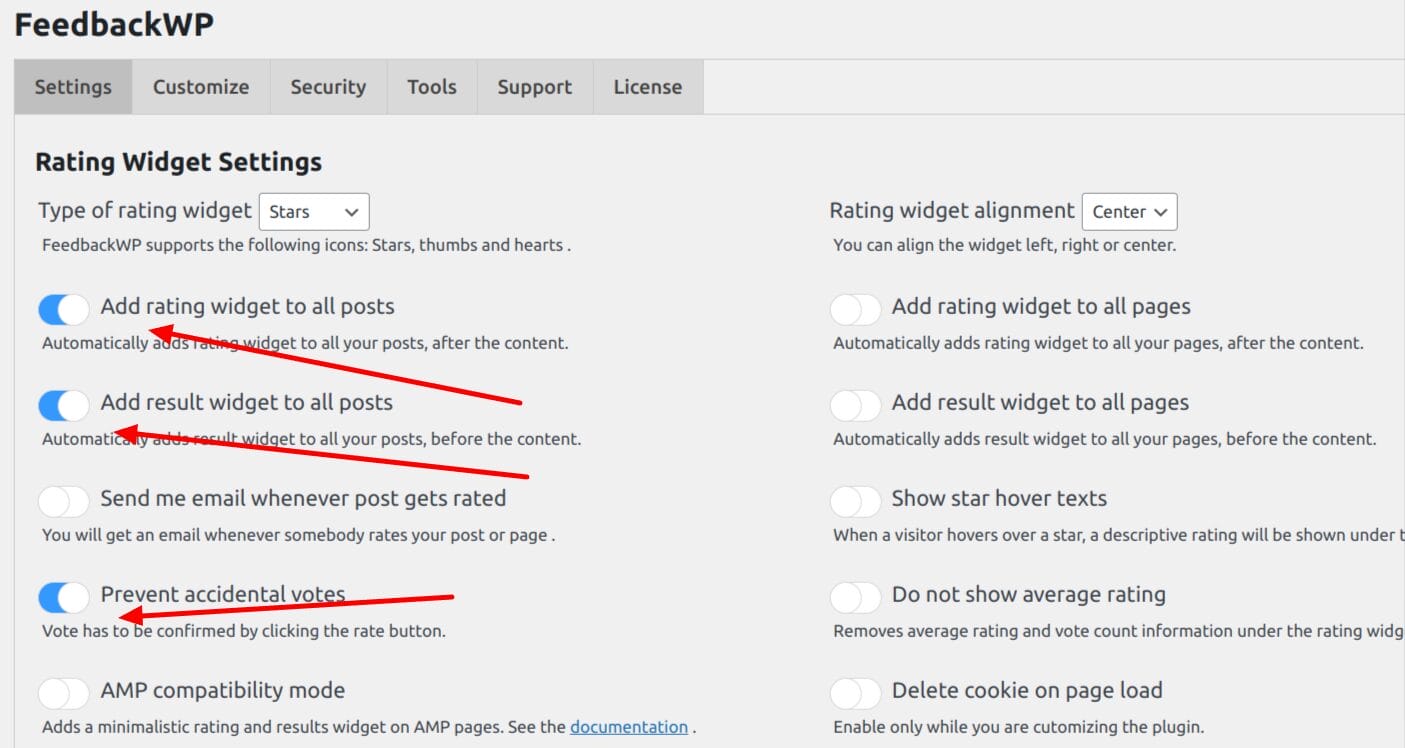
Under the Rating Widget Settings, enable the Add rating widget to all posts, Add Result widget to all posts, and prevent accidental votes options as shown in the image above.
As you may have noticed, FeedbackWP has descriptive text below each option on the settings page. This helps you understand exactly what each setting does on your website.
So far, we have enabled the option to automatically add a rating widget to all our WordPress articles, enabled the visibility of the results on each post, and prevented accidental votes by requiring vote confirmation from our users. These enabled settings are enough to give us a reliable feedback system.
3. Configure and Enable the Feedback System
The next step is to configure the feedback settings. FeedbackWP comes with two configuration options for the feedback widgets. These options allow you to enable/disable the widget and also to enable/disable email notifications for feedback.

You need to enable the “Show feedback widget if the rating is negative” as shown in the image above. What this does is that it shows a box to collect the readers’ feedback when they are unsatisfied with your articles, as shown below.
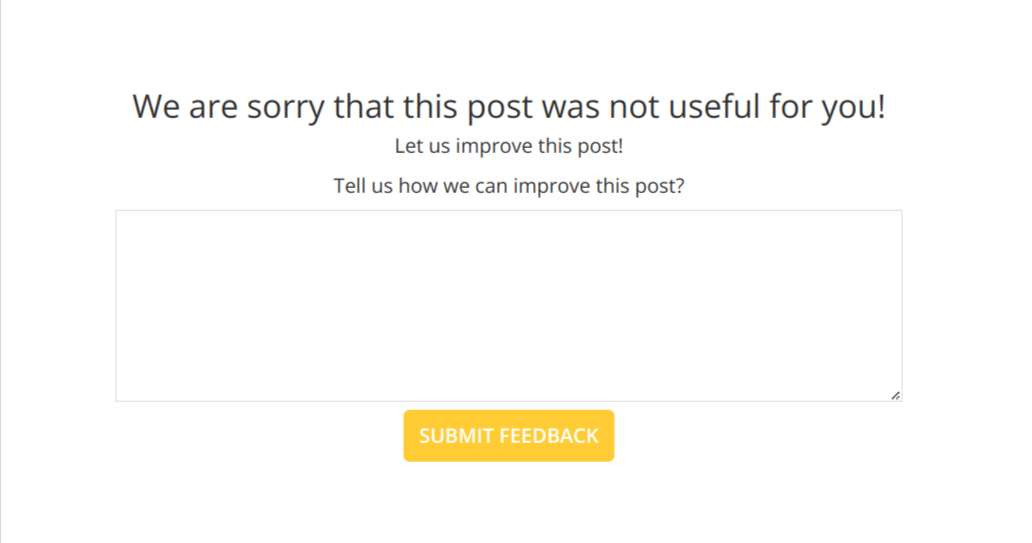
For the default settings, if a user leaves a review of 2 stars and below, this feedback widget will show up and it will ask them to share their opinions about the article.
This behavior can be adjusted from the settings page by adjusting the value of the “If post or page is rated X/5 stars or less, consider rating negative.” option. You can increase the value to 3 or reduce it to 1, but I recommend you keep it at 2.

If you want to get an email notification whenever feedback has been submitted, toggle the “Send me email” option, and you will be duly notified.
As you can see, you have enabled the collection of feedback on your WordPress articles with just a toggle.
4. Customizing the Feedback Widget
FeedbackWP comes with a customization panel that allows you to customize various aspects of the plugin.
From the settings page, click the “Customize” tab and scroll down to the “Strings – Feedback Widget” section. This section allows you to customize the various display text in the feedback system.

You can edit the title, sub-title, CTA text, Submit button text, and confirmation text. If the default values do not work for you, feel free to modify them and save your changes.
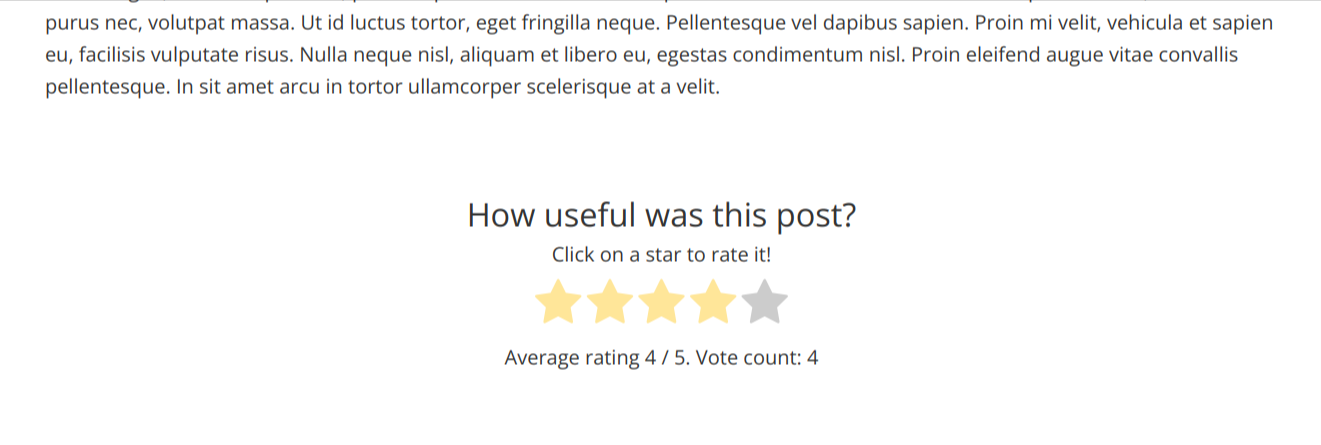
Next, Navigate to any article or post on your WordPress site, scroll to the end of the article, and you should see a rating system in place. Give the article a 2-star rating, and the feedback form will pop up. Fill out the form and submit it.
5. How to View the Feedback from Users
So far, we have enabled the feedback system and submitted a test feedback from our article page. The next step is to view this feedback from the admin dashboard.
Navigate to FeedbackWP > Stats. On the stats page, you can see all articles with a rating, the number of votes, the average rating, and feedback received for each article.
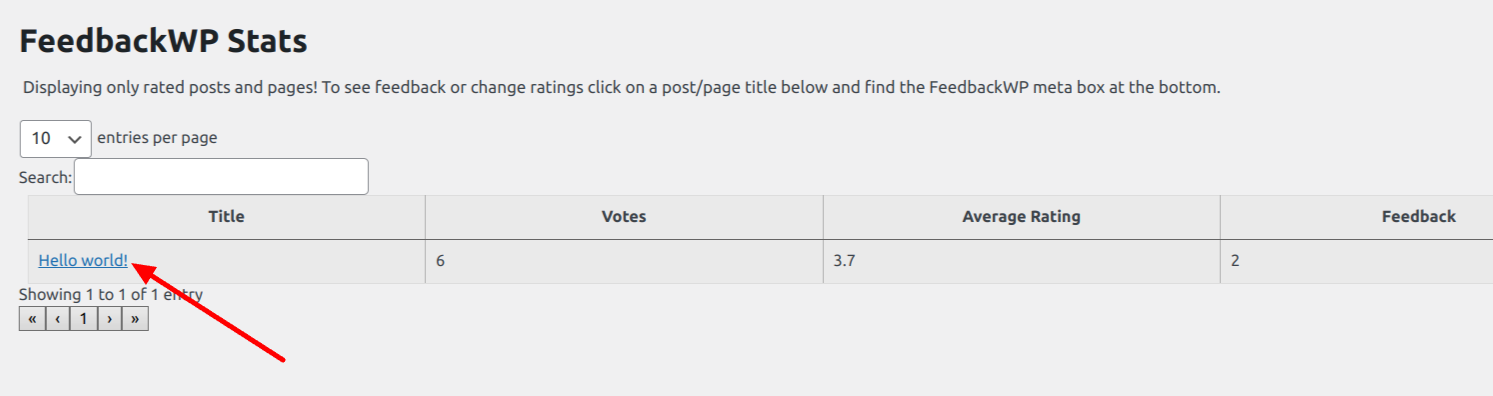
Click on the post title, and you will be taken to the post editor page in a new tab. FeedbackWP adds a rating widget to your post editing page. This widget allows you to manage the feedback and ratings for individual posts.
Scroll down on the page to find the “FeedbackWP Ratings” widget. This widget displays all of the feedback left on that particular article.
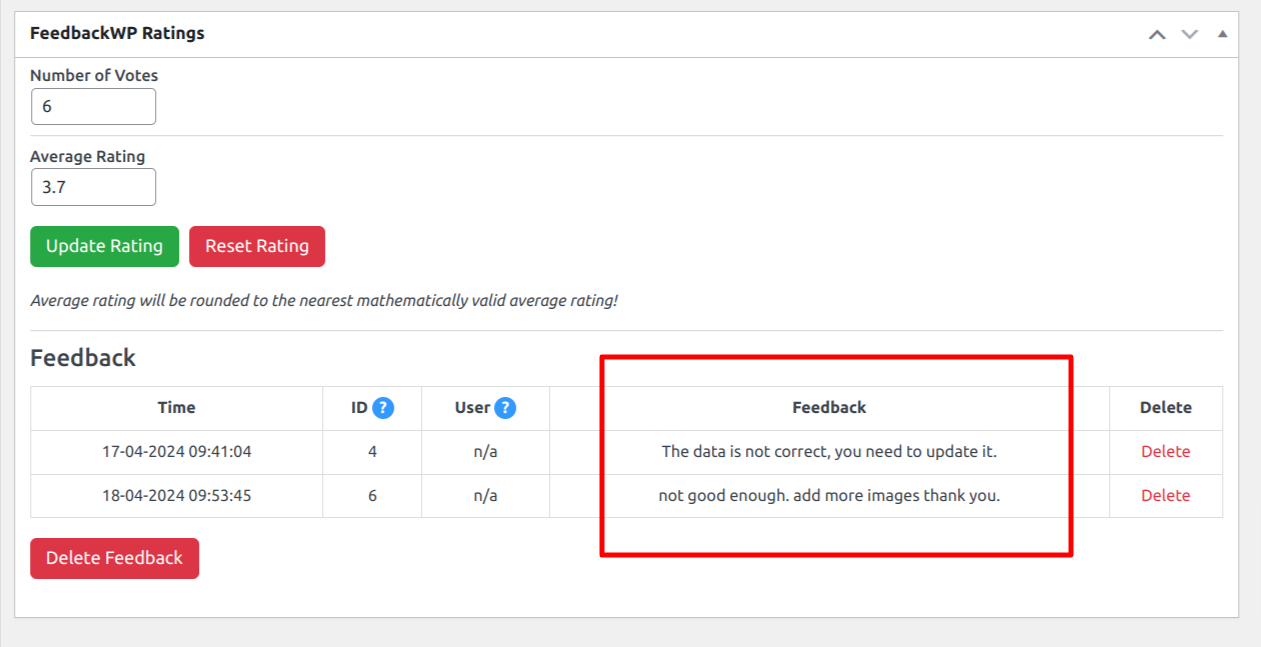
Aside from viewing the feedback, you can also delete them from this page.
Start Receiving Feedback on Your WordPress Articles Today
Feedback is an effective way to get honest opinions about your articles from your readers. If you would like to know how well your content resonates with your audience and get ideas on improving your articles, then collecting feedback from your articles in WordPress is your best bet.
With a plugin like FeedbackWP, getting feedback has become easy and straightforward. With a few clicks of the mouse, you can set up a robust rating and feedback system on your WordPress website.